
While painting a room can be fun and therapeutic, it can also be messy – and it is indeed tedious to clean up your mess after painting a room.
So, one dream would be to paint a room with little to no mess, but can it be done? And how?
To help you with your dream of painting mess-free, here are Tips to Help You Paint a Room Mess-Free in Anchorage, AK.
1. Preparation is Extremely Essential
“Prep Work: The Secret Sauce to a Stress-Free Painting Project”
Let’s be honest—nobody loves prepping for a painting project. It feels like delaying the fun part, right? But here’s the truth: Skipping prep is like trying to bake a cake without greasing the pan. Sure, you could do it, but you’ll regret it when everything sticks and crumbles. Here’s how to nail the prep phase so your painting project feels smooth, not chaotic.
Why Prep Feels Boring (But Saves Your Sanity)
Imagine this: You’re halfway through painting when you realize you’re out of rollers. Or you finish a wall and see streaks because you didn’t clean off last year’s spaghetti sauce splatter. Prep work isn’t glamorous, but it’s the difference between a weekend warrior win and a “why did I even start this?” meltdown.
Your Foolproof Prep Checklist
-
Gather Your Supplies Like a Pro
-
Make a “painting toolkit”: brushes, rollers, painter’s tape, drop cloths, spackle, sandpaper, and a putty knife.
-
Don’t forget the unsung heroes: a screwdriver (to remove outlet covers) and a damp cloth for quick cleanups.
Pro tip: Take a photo of your wall to the paint store—staff can help calculate how much paint you’ll need based on square footage.
-
-
Calculate Paint Like You’re Baking a Cake
-
Measure your walls (height x width) and subtract areas like windows and doors.
-
Most paint cans list coverage (usually 350–400 sq ft per gallon). Buy 10% extra for touch-ups—trust me, you’ll need it.
-
Stick to one paint brand for consistency. Mixing brands can lead to slight color/texture mismatches.
-
-
Set a Realistic Timeline
-
Give yourself buffer time. If you think it’ll take a day, block out two. Sanding, drying, and second coats always take longer than expected.
-
Split tasks: Day 1 = prep (cleaning, taping, repairing cracks). Day 2 = painting.
-
The Magic of “Boring” Prep Work
Yes, scrubbing walls and taping edges feels tedious. But here’s what happens when you do it right:
-
No mid-project panic runs to the hardware store.
-
No “oops” moments where paint peels because you skipped primer.
-
No post-painting rage when you find drips on your baseboards.
Think of prep as your future self sending you a thank-you note.
The Payoff? Pure Satisfaction
When you finally roll on that first stroke of color, you’ll realize how much smoother it goes. No scrambling, no mess, just you and your brush conquering the wall like a DIY hero. And when friends say, “Wow, did you hire a pro?” you’ll smirk and say, “Nope—just prepped like one.”
PS: Still tempted to skip the prep? Try this hack: Put on a podcast or playlist you love while taping and sanding. Time flies when you’re jamming to ’90s hits! 🎶🖌️
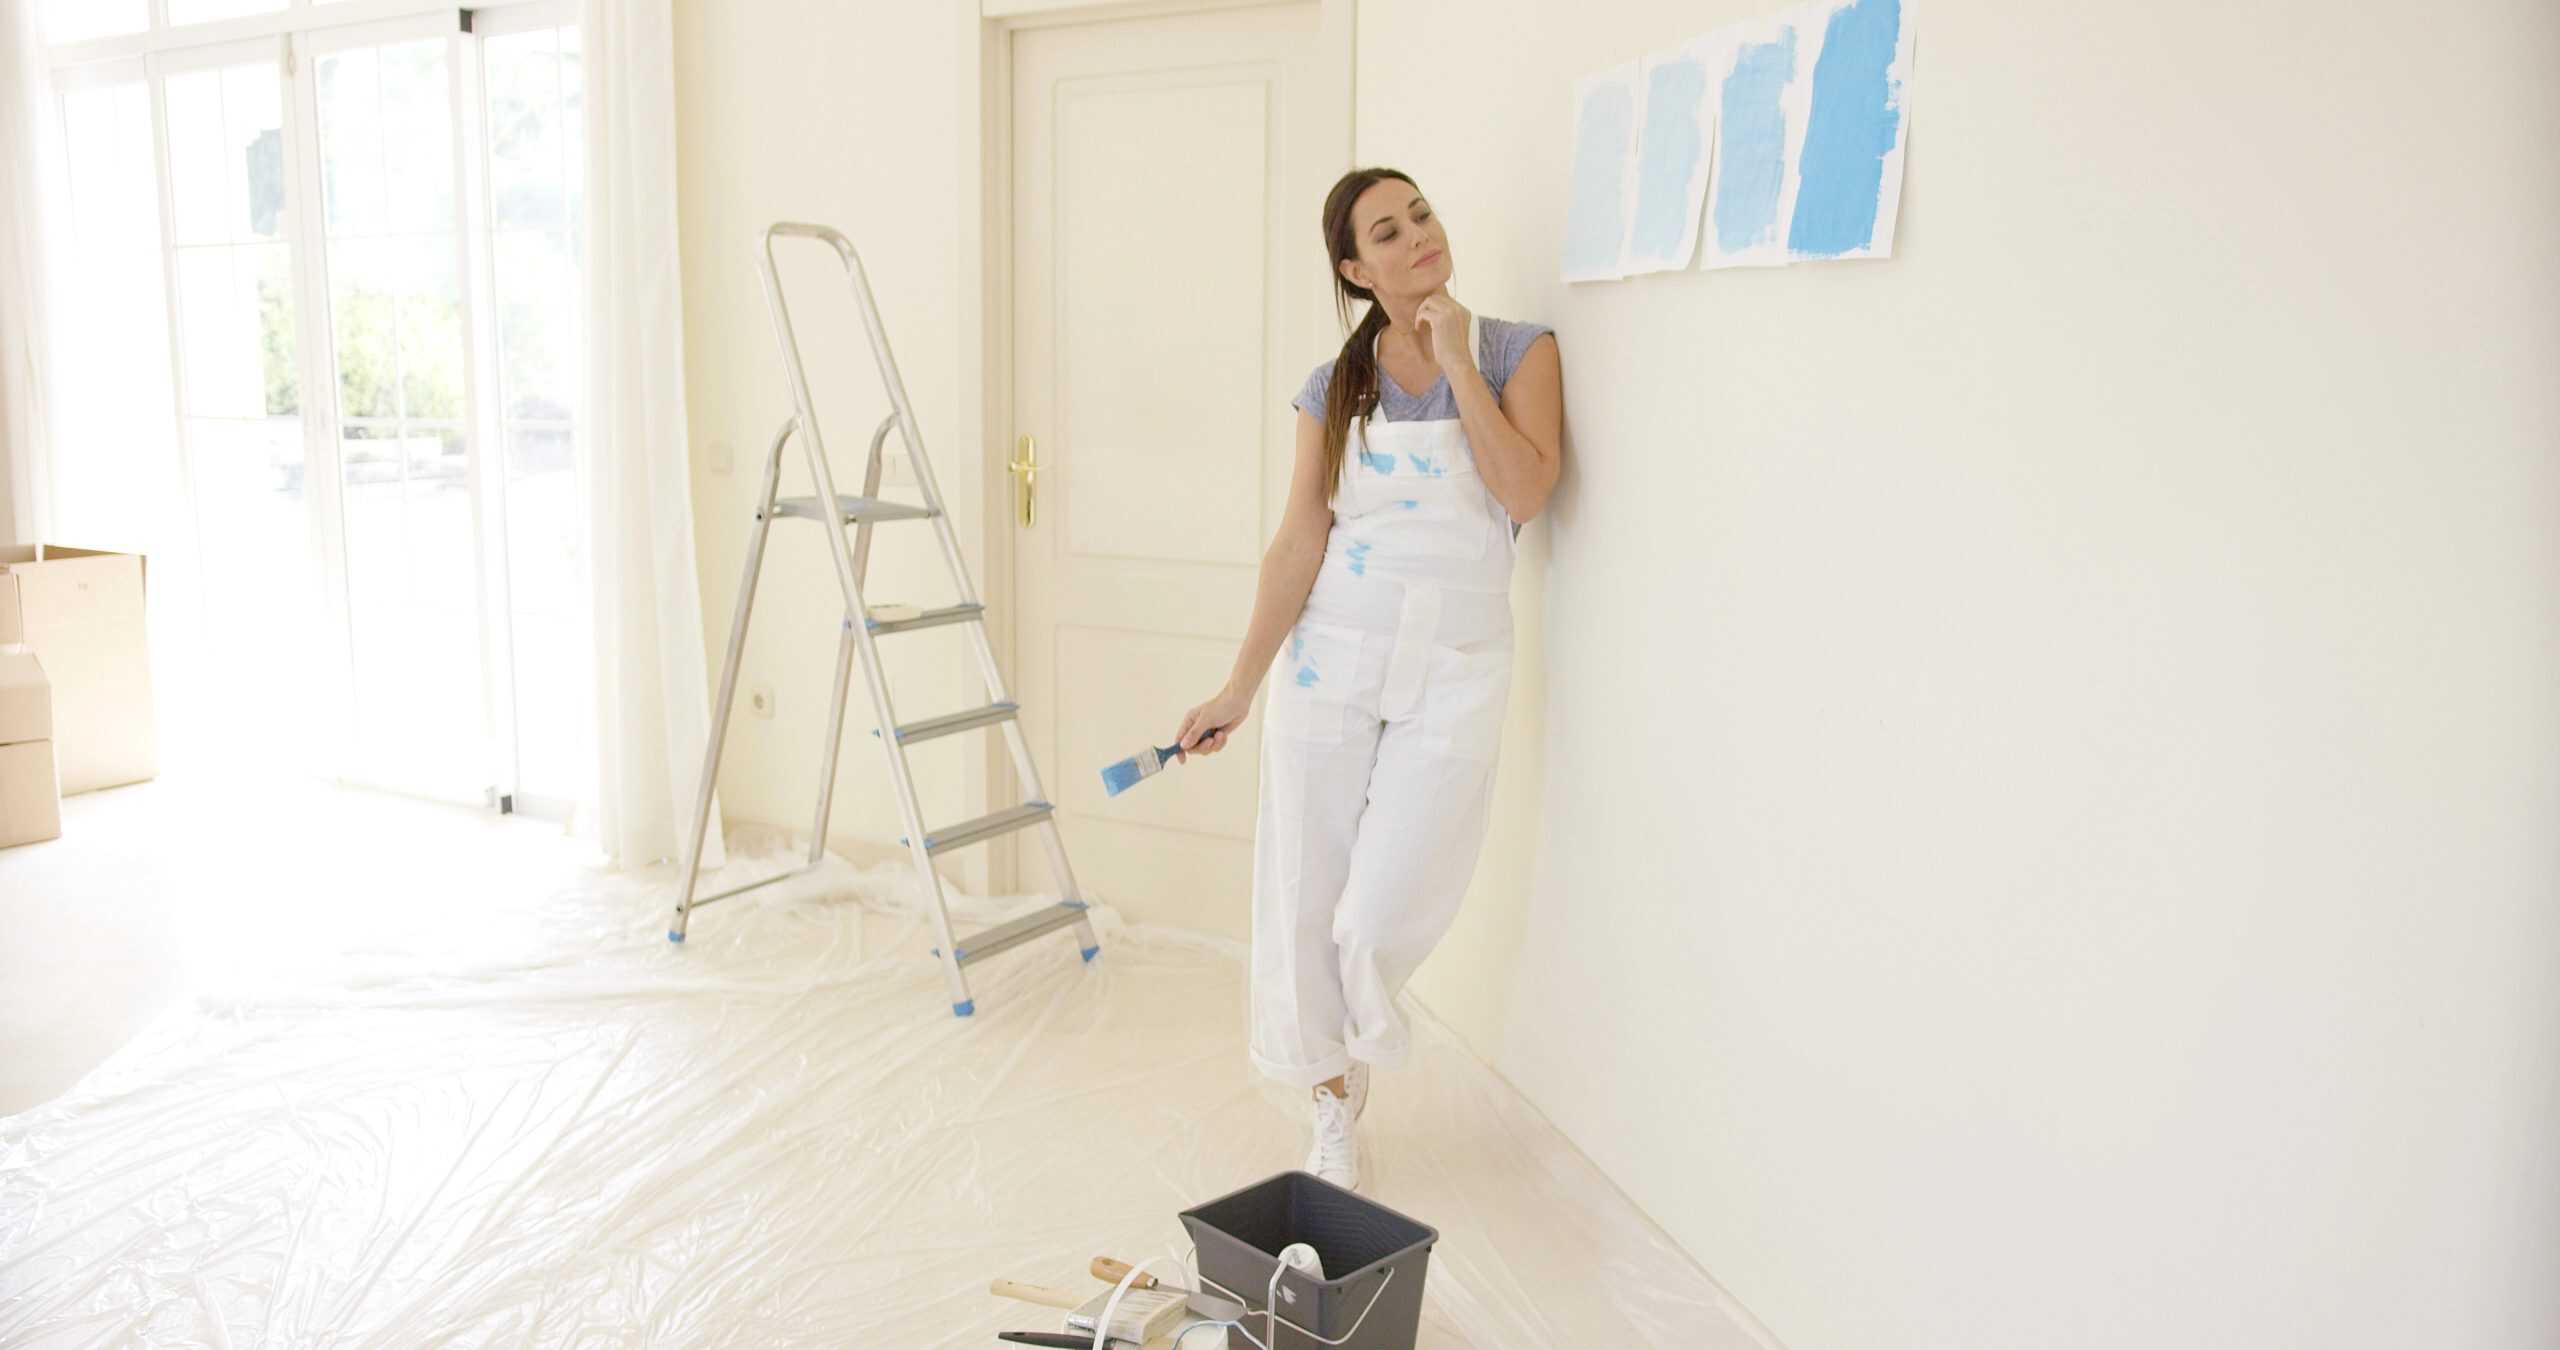
2. Cover Your Ground
Paint drips and spills are a natural part of any painting project. No matter how careful you are, it’s almost impossible to avoid them entirely. These little accidents are simply part of the process, but that doesn’t mean you have to resign yourself to dealing with an unmanageable mess. In fact, there are effective ways to minimize these mishaps and protect your space so you can paint more confidently, without worrying about the aftermath.
The key to keeping things tidy is proper preparation, especially when it comes to protecting your floors and furniture. By taking a few precautionary steps, you can safeguard your surroundings and make clean-up much easier when you’re finished painting. Start by covering your floor and any furniture in the vicinity with a drop cloth, tarp, or another type of cloth. This simple step is essential to ensure that any paint that drips or spills doesn’t end up on your surfaces.
Ideally, investing in a high-quality canvas drop cloth is your best option. Canvas is durable, absorbs paint spills efficiently, and prevents the liquid from seeping through to your floor. It’s particularly effective because it provides a sturdy barrier that won’t easily shift or tear, offering long-lasting protection throughout your project.
However, if you’re working within a tight budget, there are still ways to protect your space without spending much money. One cost-effective option is to clear the room of any furniture or obstacles that could be in the way and focus on covering the floors directly in your painting area. You can use old clothes, towels, or rags that you have lying around the house. While not as effective as a canvas drop cloth, they can still provide a decent level of protection for small spills and drips. Just make sure to layer them thickly enough to absorb any paint that might fall.
In either case, the most important thing is to plan ahead. By taking the time to properly cover your floor and furniture, you can greatly reduce the chances of a messy disaster. This extra step will allow you to focus on the task at hand, knowing that your environment is well-protected from any paint accidents.

3. Use Painter’s Tape
To avoid unwanted smudges, streaks, or paint marks on surfaces you don’t intend to paint, using painter’s tape is an essential step in any painting project. Painter’s tape acts as a protective barrier, ensuring clean lines and a more professional finish.
Start by applying painter’s tape along the edges of areas you want to protect, such as wall corners, baseboards, window trim, and any other surfaces you want to keep free from paint. It’s especially useful in tight spaces and crevices, where precision is crucial. By sealing off these areas with tape, you’ll prevent any accidental paint splashes or strokes from ruining parts of your room that aren’t meant to be painted.
One of the main benefits of painter’s tape is that it helps achieve a sharp, clean line where the painted surface meets the unpainted one. This gives your work a polished, professional appearance and creates a seamless finish without any messy smudges or uneven edges. Whether you’re working on accent walls, trim, or intricate designs, painter’s tape helps ensure that the edges of your paint job are crisp and flawless.
However, it’s important to remove the painter’s tape at the right time. If you leave it on the surface for too long, it could damage your freshly applied paint when you peel it off. The adhesive can bond too strongly with the paint, causing sections to lift or peel away with the tape. To avoid this, it’s recommended to remove the tape while the paint is still slightly tacky, or within a few hours of finishing. This will give you the best results, with clean edges and no damage to your newly painted surfaces.
In short, painter’s tape is a must-have tool for achieving professional-quality results with minimal mess. Just remember to use it carefully and remove it at the right time to ensure your paint job stays looking pristine.
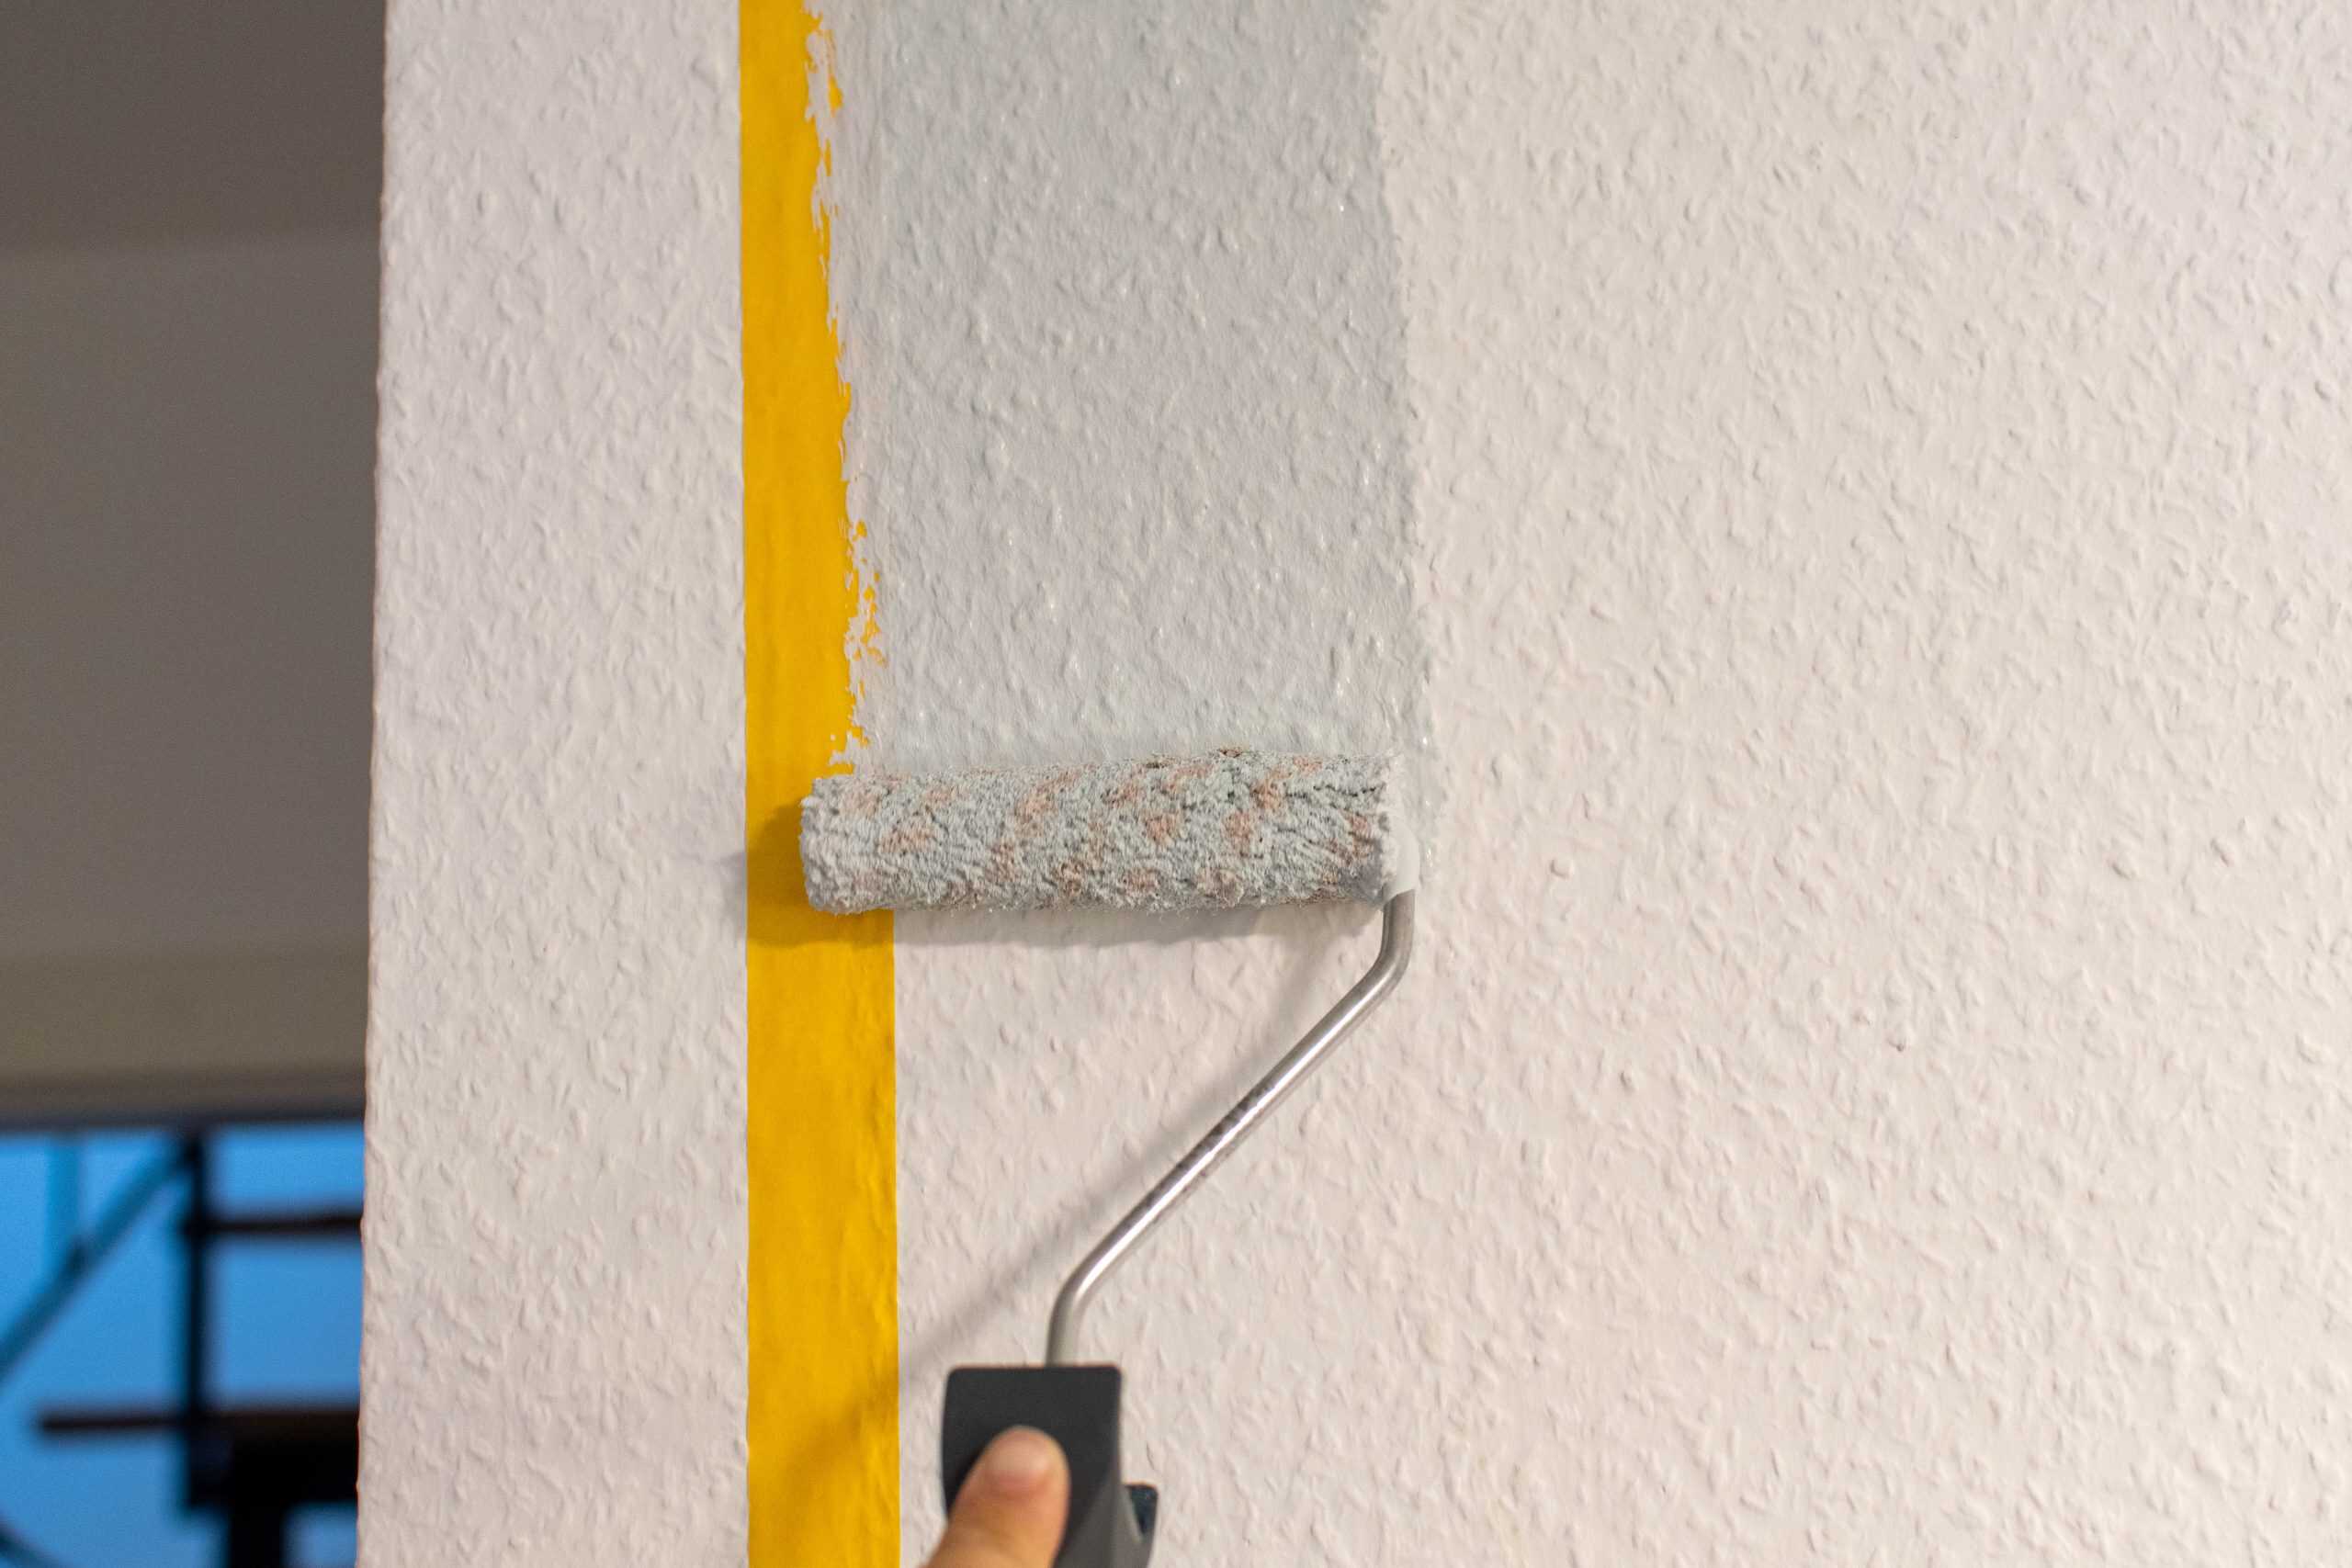
Painting the wall after taping it
4. Start Painting From The Top
To keep your paint job neat and avoid the mess of drips running down your freshly painted surfaces, it’s best to start painting from the top and work your way down. This technique not only minimizes the risk of creating unsightly drips but also makes the overall process smoother and more efficient.
Starting at the top is particularly effective because, as you paint, some drips are inevitable. When you begin at the highest point, any paint that drips will fall onto areas that you’ll be painting later, so they’re easier to fix and blend in. This approach ensures that any unwanted drips won’t ruin sections that you’ve already completed, which can happen if you start painting from the bottom up.
Another benefit of painting from the top is that you get to work with gravity rather than against it. Gravity naturally pulls the paint downward, so by starting at the top, you can allow it to settle and smooth itself out as you go. This “partnership” with gravity helps you avoid uneven coverage and keeps your paint job looking uniform as you progress.
So, not only will you make less work for yourself in terms of touch-ups, but you’ll also be working in a way that’s more efficient and effective. By embracing this simple technique, you’ll achieve a cleaner, more polished result with fewer headaches.

5. Wipe All Surfaces Before Painting
As a general rule in painting, it’s crucial to ensure that your surface is clean and free of dirt, dust, and grease before you begin. Proper surface preparation is the foundation of a successful painting project, and skipping this step can lead to a variety of issues that will make your job harder in the long run.
When you paint over an unclean surface, the dirt, dust, or oils can prevent the paint from adhering properly, which can result in uneven coverage, peeling, or bubbling. These problems often become visible later on, and you’ll be left dealing with the frustration of having to fix them, which can be both time-consuming and messy. A clean surface, on the other hand, ensures that the paint will bond effectively, giving you a smoother and more durable finish.
To avoid unnecessary mess and the hassle of fixing paint issues down the line, take the time to properly prepare your surface before you begin painting. This includes wiping down walls, sanding rough spots, and making sure there are no greasy marks or cobwebs that could interfere with the paint’s adhesion. A little extra effort at the start will go a long way in ensuring that your project stays mess-free, with a cleaner, longer-lasting result.
If you need professional help with your interior/exterior painting, Campbell Painting is here for you.
Our interior/exterior painting and washing services are available in Anchorage, AK.
Call us today at (907) 444-3657 for a FREE painting estimate.
Related: 6 Ways to Update Your Living Room Interior in Anchorage, AK
5 Interior Paint Problems And How To Fix Them in Anchorage, AK

Ben Campbell is the proud owner of Campbell Painting LLC, a successful painting company based in Anchorage, Alaska. As a third-generation member of the painting industry, Ben has a deep-seated passion for his profession that started with his grandfather, who came to Alaska to sell paint. Born and bred in Alaska, Ben’s connection to his community is genuine and strong. Since 2006, he has been providing top-quality painting services, enhancing the beauty of Anchorage one building at a time. He also studied at Santa Barbara City College, solidifying his industry knowledge. Ben’s journey, including overcoming adversity, is a testament to his resilience and commitment to his craft, which is reflected in the success and reputation of Campbell Painting LLC.
Recent Comments