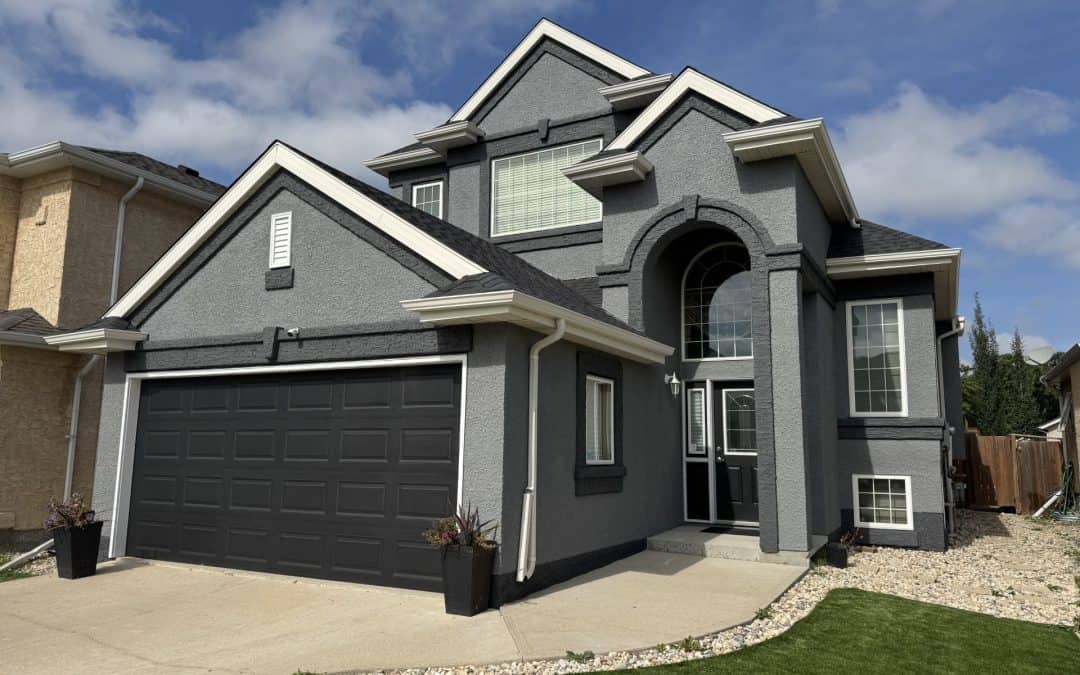
A garage door takes up a large part of your home’s exterior, so when it starts to look faded, chalky, rusty, or worn, it can pull down the look of the whole property. The good news is that repainting it can make a noticeable difference without a full replacement. If you have been searching for how to paint a garage door, the key is not just putting on a new color. The real job is in the prep, the right paint choice, and the timing.
This step-by-step guide walks you through how to paint a garage door the right way, whether it’s metal, wood, or vinyl. It also covers common mistakes, the best tools to use, and how to get a smoother finish that holds up better outdoors.
Why Painting a Garage Door Takes More Than Just a Brush and Paint
A garage door is not like an interior wall.
It expands and contracts outdoors, faces sun, rain, dust, and temperature changes, and has joints, seams, trim edges, and moving panels. If you use the wrong product or skip the prep work, the paint may not bond well, and problems like peeling, blistering, or uneven coverage can show up sooner than expected.
That is why learning how to paint a garage door properly matters. A well-painted door can improve curb appeal and help protect the surface. A rushed job can look patchy and wear out much faster.
Know What Material You Are Painting
Before you open a paint can, identify the material of the garage door.
That affects the type of primer, surface prep, and paint you should use.
Common garage door materials include:
- Steel
- Aluminum
- Wood
- Vinyl
- Composite or engineered material
Metal garage doors are very common and often need careful rust inspection, light sanding, and a product that bonds well to metal.
Vinyl doors require extra care when choosing color, as darker colors can cause heat buildup.
Wood garage doors may need more repairs if they have peeling paint, soft spots, or weather damage.
Gather Your Supplies Before You Start
Having everything ready makes the job cleaner and easier.
Most garage door painting projects need:
- Mild detergent or exterior cleaner
- Bucket and sponge or soft cloth
- Hose
- Painter’s tape
- Drop cloths
- Putty knife
- Scraper
- Sandpaper or sanding sponge
- Wire brush for rust, if needed
- Exterior primer suited to the surface
- Exterior paint
- Angled brush
- Small roller or mini roller frame
- Paint tray
- Ladder if required
- Clean rags
For metal doors with rust, you may also need a rust-inhibitive primer.
Step 1: Pick the Right Day
If you want to know how to paint a garage door correctly, start with the weather.
Exterior paint needs proper conditions to bond and cure. That usually means dry weather, low rain risk, and temperatures that stay within the product’s application range for both the day and the early curing period.
That means you should avoid:
- Rainy days
- Very windy days
- Extremely hot surfaces in direct sun
- Cold conditions below the product minimum
- Late-day painting if temperatures will drop too quickly
The safest approach is to paint when the surface is dry, and the forecast shows a stable weather window.
Step 2: Clean the Garage Door Thoroughly
Paint sticks best to a clean surface.
Wash the garage door to remove dirt, chalky residue, dust, cobwebs, grease, and grime. Some garage doors, especially near driveways, collect road residue and oily buildup that can affect adhesion.
Use a mild cleaning solution and scrub the surface well. Rinse thoroughly and allow it to dry fully.
Do not rush this part. A door that looks clean from a few feet away can still have residue that affects the finish.
Step 3: Remove Loose Paint and Rust
Once the door is clean and dry, inspect it closely.
Look for:
- Peeling paint
- Flaking edges
- Rust spots
- Dents
- Surface scratches
- Glossy patches
- Caulk failure around trim
If the door has old, loose paint, scrape those areas first. If it is metal and has rust, use a wire brush or abrasive pad to remove as much of the rust as possible.
Paint does not hide surface failure. It usually makes it more obvious.
Step 4: Sand the Surface
Sanding helps the new coating grip better.
You do not always need to strip the door down completely, but you do want to dull glossy areas and smooth repaired or scraped spots. On previously painted doors in sound condition, light sanding is often enough. On rougher surfaces, you may need more aggressive sanding in problem areas.
Focus on:
- Scraped areas
- Rust-treated spots
- Glossy panels
- Edges and trim
- Filled dents, if repaired
After sanding, wipe away all dust with a clean cloth.
Step 5: Mask Off Areas You Do Not Want to Paint
Use painter’s tape to protect trim, handles, weatherstripping, windows, and nearby siding if needed.
Lay down drop cloths below the door to catch dust, chips, and paint drips. If the garage door has glass inserts, tape them off carefully before priming or painting.
A clean masking job makes the finished result look sharper and reduces touch-up time later.
Step 6: Decide If You Need Primer
Not every garage door needs a full coat of primer, but many do.
Primer is especially important when:
- The door has bare metal showing
- Rust was removed
- Bare wood is exposed
- You are making a major color change
- The old paint surface is worn
- Adhesion may be an issue
- The manufacturer recommends it for that material
For metal doors with rust, spot-priming repaired areas is often essential. For vinyl, a bonding-type primer may help if adhesion is a concern.
Step 7: Choose the Right Paint
This is one of the most important parts of the project.
Garage doors need an exterior-grade coating that can handle outdoor exposure and surface movement. Semi-gloss is a common choice because it is durable, easier to clean, and often used for doors and trim.
For metal garage doors, a direct-to-metal product may be appropriate in some cases, depending on the door condition and the specific product instructions.
In general, use:
- Exterior paint for wood doors
- Exterior enamel or metal-suitable paint for metal doors
- A paint system compatible with vinyl for painting vinyl
- The finish recommended by the product label
Always match the paint to the material and follow the label.
Step 8: Set the Garage Door in the Best Position
A common question when learning how to paint a garage door is whether the door should be open or closed.
In many cases, it is easier to paint with the door closed so the panels sit in their normal position and you can see drips more clearly. Some people lift the door slightly so the bottom edge is easier to reach, but you do not want the position to create awkward angles or wet paint lines where sections overlap.
The main goal is to keep the painting sequence organized and avoid sticking, smudging, or missed edges.
Step 9: Paint in the Right Order
The order matters more than many people expect.
For paneled garage doors, start with the recessed or detailed areas first. Then move to the flat sections, rails, stiles, and outer edges. Use a brush for corners and trim details, then a mini roller for flatter sections to get a smoother finish.
A simple order is:
- Inner panel details
- Panel faces
- Vertical sections
- Horizontal sections
- Outer frame edges, if included
Work in small sections to maintain a wet edge.
Step 10: Apply Thin, Even Coats
Heavy paint causes problems fast.
If you overload the brush or roller, you are more likely to get drips along panel edges, pooled paint in corners, or uneven sheen after drying. Thin, controlled coats usually give a better-looking result and reduce the chance of sagging.
This is especially important on garage doors, as panel lines and trim edges can trap excess paint.
Do not keep reworking paint once it starts to set. That often leaves marks and texture behind.
Step 11: Let the First Coat Dry Fully
Dry time matters just as much as paint choice.
Follow the label for dry time and recoat time. Those are not always the same. A surface may feel dry to the touch but still not be ready for the next coat.
Before recoating, check for:
- Drips
- Missed edges
- Rough spots
- Dust nibs
- Uneven coverage
If needed, sand lightly before the second coat to smooth minor imperfections.
Step 12: Apply the Second Coat
Most garage doors look better and perform better with a second coat.
The second coat improves coverage, color depth, and durability.
Use the same order as the first coat and keep the application smooth and even.
Do not rush just because the finish already looks better. The second coat is often what gives the door a cleaner, more complete look.
Best Paint Finish for a Garage Door
Many homeowners prefer semi-gloss for garage doors.
Why?
Because it usually gives a clean finish, holds up well outdoors, and is easier to wipe down than flatter sheens.
That said, the best finish can still depend on:
- Door material
- Surface condition
- Desired look
- Product line recommendations
A higher sheen can show imperfections more, while a lower sheen may hide them a bit better.
Common Mistakes to Avoid
Many garage door paint problems stem from a few common mistakes.
The most common ones include:
- Painting a dirty surface
- Ignoring rust
- Skipping sanding on glossy areas
- Using the wrong primer
- Using interior paint outside
- Painting in poor weather
- Applying coats too heavily
- Recoating too soon
- Picking a very dark color for vinyl
Avoiding those mistakes can do more for the finish than any one trick.
Should You Spray or Roll a Garage Door?
Both methods can work.
A brush and mini roller are often the easiest choice for most homeowners because they provide good control around panel details and require less masking. Spraying can create a very smooth finish, but it requires more prep, more equipment, and more control to avoid overspray.
If you are painting one garage door and want a straightforward process, brushing details and rolling flat sections is usually the simplest route.
How Long Should You Wait Before Using the Door?
This depends on the paint and conditions, but in general, you should let the paint dry thoroughly before heavy use.
Do not rush to shut the door tightly, wash it, or drag objects against it while the finish is still curing. Exterior paint continues to harden after it first dries.
Follow the product label, and if the weather is cool or damp, allow extra margin.
If you want to know how to paint a garage door the right way, the process is simple in theory but detailed in practice: clean the surface, remove loose paint and rust, sand where needed, prime the right areas, use an exterior product made for the material, and apply two light, even coats in good weather.
That is what gives you a finish that looks better and lasts longer.
A garage door is too visible to treat as a rushed weekend shortcut. With the right prep and enough drying time, you can give it a cleaner, sharper look while improving the home’s overall appearance.
Painting a garage door correctly can instantly improve your home’s appearance and help protect it from everyday wear and weather. With proper preparation, quality materials, and careful application, you can achieve a smooth, lasting finish. Campbell Painting delivers trusted expertise and professional results that keep your exterior looking its best.
FAQs
1. Do I need to sand a garage door before painting?
In most cases, yes. Light sanding helps dull glossy finishes, smooth scraped spots, and improve adhesion for the new paint.
2. Do I need a primer on a garage door?
Often yes, especially if there is bare metal, rust repair, bare wood, adhesion concerns, or a major color change. Some previously painted doors in good condition may not need full priming.
3. What kind of paint should I use on a garage door?
Use an exterior-grade paint suited to the material. Metal doors may need a metal-compatible system, while wood doors need durable exterior paint. Semi-gloss is a common choice for doors.
4. Can I paint a garage door in cold weather?
Only if the product allows it and the forecast supports proper curing. Some latex paints can be used at lower temperatures, while traditional latex paints may need warmer conditions.
5. How many coats of paint does a garage door need?
Most garage doors look and perform best with two finish coats, and many systems also use one coat of primer depending on surface condition.

Ben Campbell is the proud owner of Campbell Painting LLC, a successful painting company based in Anchorage, Alaska. As a third-generation member of the painting industry, Ben has a deep-seated passion for his profession that started with his grandfather, who came to Alaska to sell paint. Born and bred in Alaska, Ben’s connection to his community is genuine and strong. Since 2006, he has been providing top-quality painting services, enhancing the beauty of Anchorage one building at a time. He also studied at Santa Barbara City College, solidifying his industry knowledge. Ben’s journey, including overcoming adversity, is a testament to his resilience and commitment to his craft, which is reflected in the success and reputation of Campbell Painting LLC.
Recent Comments