
Mess in any painting project can be rather inevitable – this is just the natural tendency of working with paint.
However, this is not to say that mess is completely unavoidable – with the right tips and tricks at hand, one can do a painting project with little to no mess at all!
So, if you are currently planning an exterior painting project and would like to know how to reduce the mess in your painting project, here’s something you might want to read.
Here are Exterior Painting Tips For Lesser Mess.
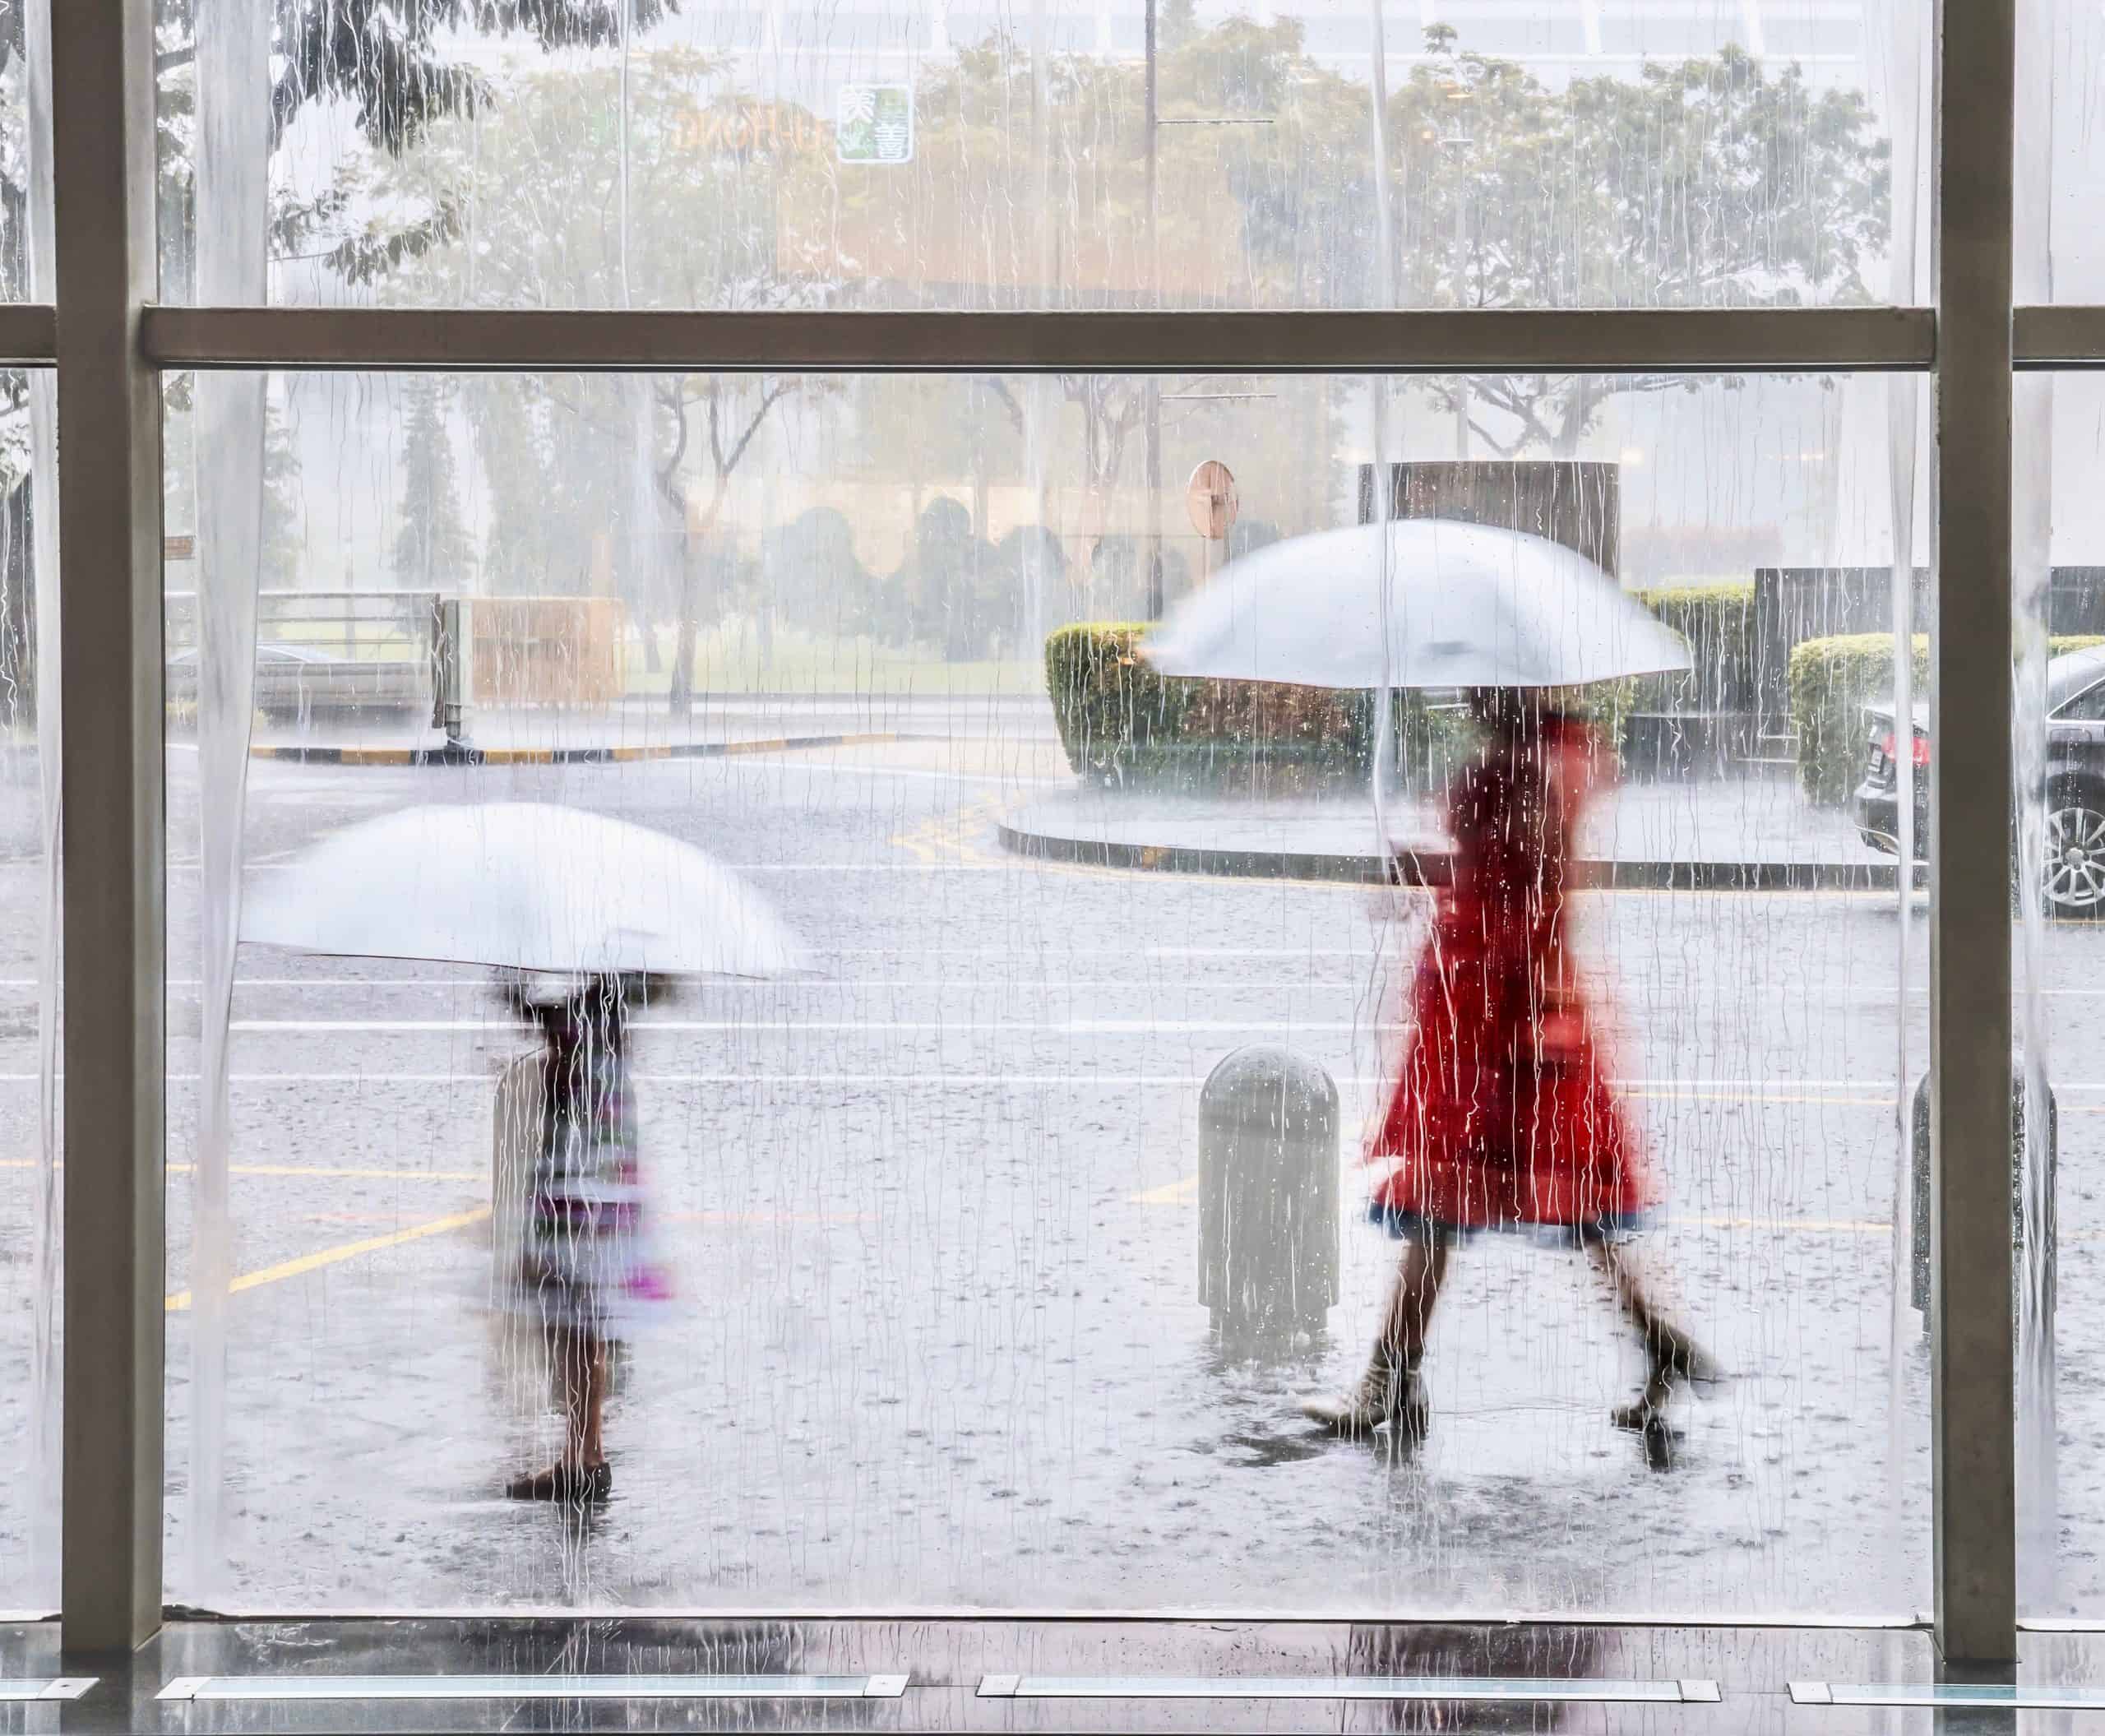
1. Check The Weather Conditions
You’re absolutely right! Weather plays a crucial role in the success of your exterior painting project. It’s important to consider both temperature and humidity levels to ensure that your paint goes on smoothly and dries properly.
Here’s a more detailed breakdown of what you should keep in mind:
Ideal Weather Conditions for Exterior Painting:
-
Temperature: The ideal temperature range for painting is typically between 50°F (10°C) and 85°F (29°C). Temperatures below or above this range can cause issues like slow drying, cracking, or bubbling of the paint. If it’s too hot, the paint can dry too quickly, leading to uneven finishes. On the other hand, if it’s too cold, the paint may not cure properly, and you may end up with a tacky finish that takes longer to dry.
-
Humidity: Humidity can affect how the paint dries. Low to moderate humidity is ideal. If the air is too humid, the paint may take longer to dry, and there could be a risk of mildew or mold forming, especially in areas like kitchens or bathrooms. If the weather is too dry, the paint might dry too fast, which can result in cracking or streaks.
-
Wind: While a light breeze is perfectly fine, high winds can make painting difficult. Wind can cause debris to land on your wet paint, leading to a messy finish. Additionally, strong gusts can make it harder to maintain control of your tools and may create unsafe conditions while you’re working on a ladder or scaffolding.
How to Check the Weather:
-
Use a weather app or website: Check reliable sources for accurate temperature, humidity, and wind forecasts in your area. The best time to start painting is early in the morning, allowing you to avoid the heat of midday and giving you more time for your coats to dry before evening temperatures drop.
-
Monitor the forecast for a few days in advance: It’s important to be proactive. Plan your painting days around weather conditions for several days to ensure that you have a window of clear, dry weather.
Tips for Handling Weather-Related Challenges:
-
Avoid Painting in Direct Sunlight: If the sun is too intense, it can dry the paint too quickly, leading to streaks and a less-than-ideal finish. You can paint in the early morning or late afternoon when the temperature is cooler, and the sun isn’t as harsh.
-
Postpone Painting During Rainy Days: It may be tempting to try to paint even if it’s drizzling, but rain is the enemy when it comes to exterior painting. Wait for clear skies to ensure the paint adheres properly and dries evenly. Even after a light rain, surfaces need time to dry completely before applying paint.
-
Check the Dew Point: The dew point is a measure of how much moisture is in the air. Painting when the dew point is high can lead to condensation on your freshly painted surface, causing the paint to bubble or peel. It’s best to avoid painting if the dew point is close to or above the temperature of the surface.
By choosing the right weather window, you’ll have a much smoother, more successful painting project with lasting results!
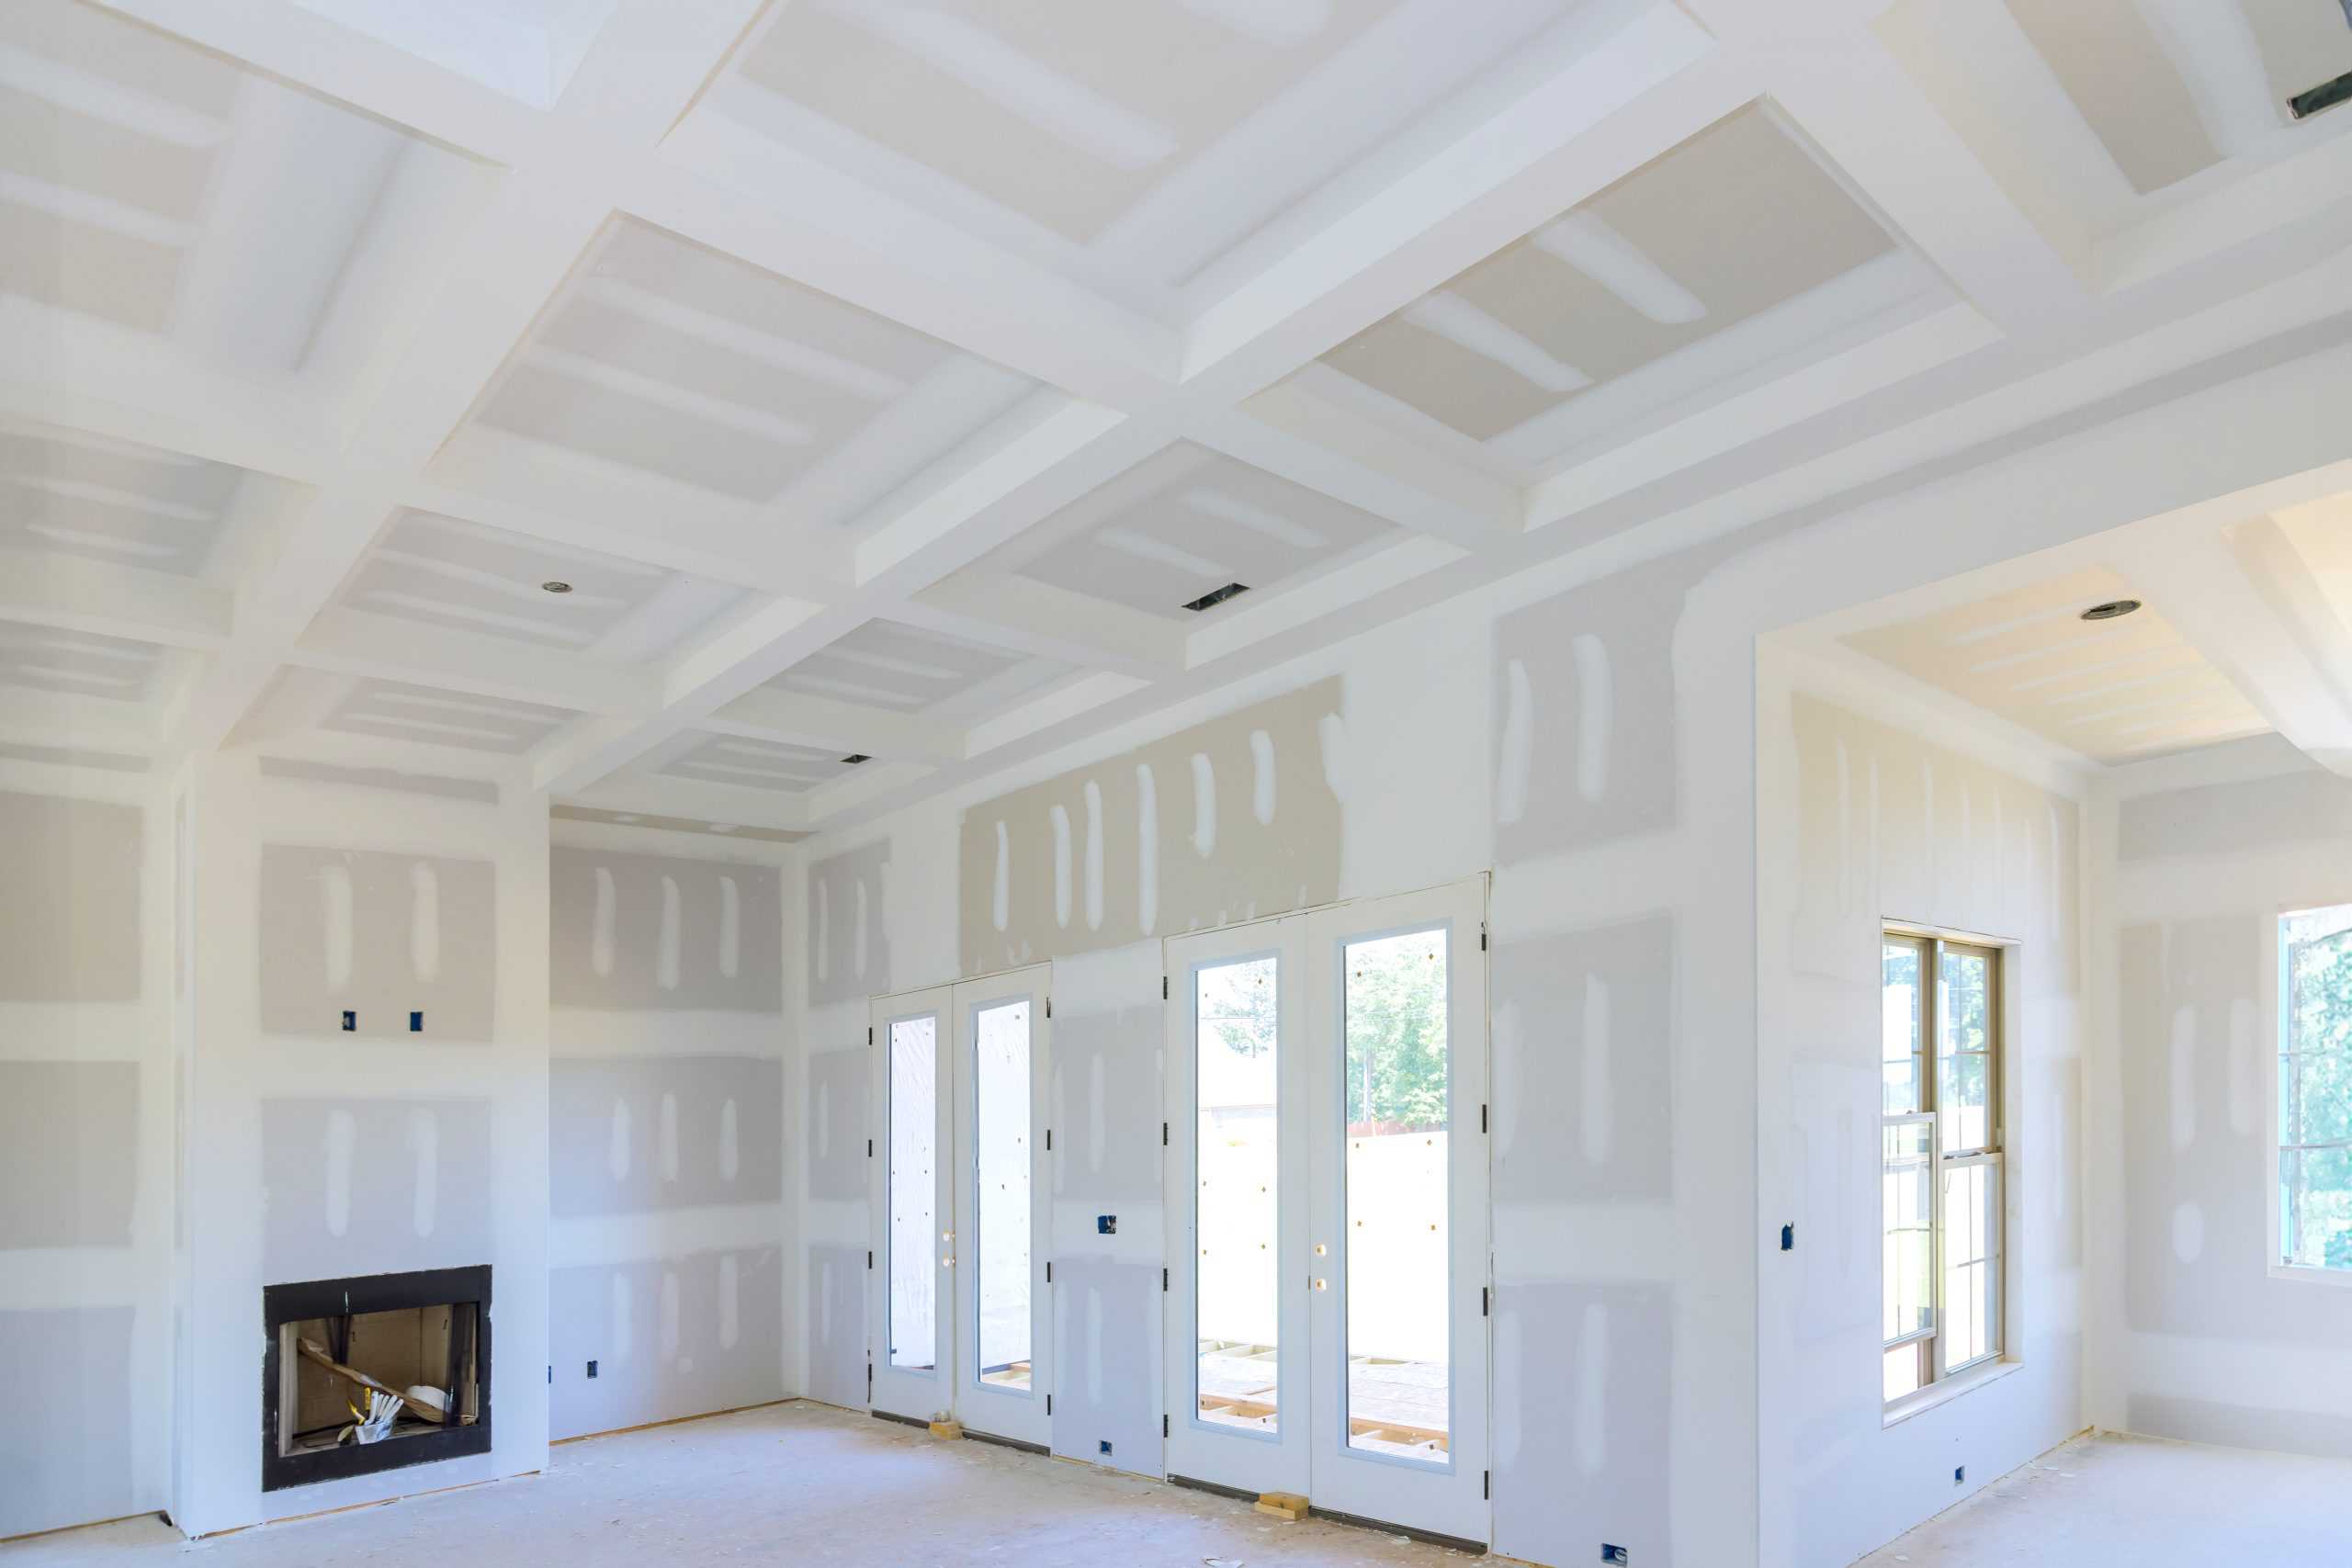
2. Don’t Forget Surface Preparation
Absolutely! Proper surface preparation is crucial to ensuring that your exterior paint job not only looks great but also lasts a long time. Skipping or rushing this step can lead to uneven paint, peeling, and a finish that won’t stand up to the elements. Here’s a step-by-step guide on how to properly prepare your exterior surfaces before you start painting:
Step-by-Step Guide to Surface Preparation for Exterior Painting:
-
Inspect the Surface for Damage:
- Cracks, Holes, and Peeling Paint: Look for any signs of damage on your exterior walls. Cracks, holes, or areas where the old paint is peeling or bubbling need to be addressed before you start painting.
- Wood Rot or Damage: If you have wooden siding or trim, check for any areas with rot. You can usually spot wood rot by pressing lightly on the surface; if it feels soft or spongy, it may need to be replaced.
- Mold or Mildew: If you notice any mold or mildew, it’s important to clean it off using a mixture of water and bleach before painting. This will prevent the growth from coming through your fresh coat of paint.
-
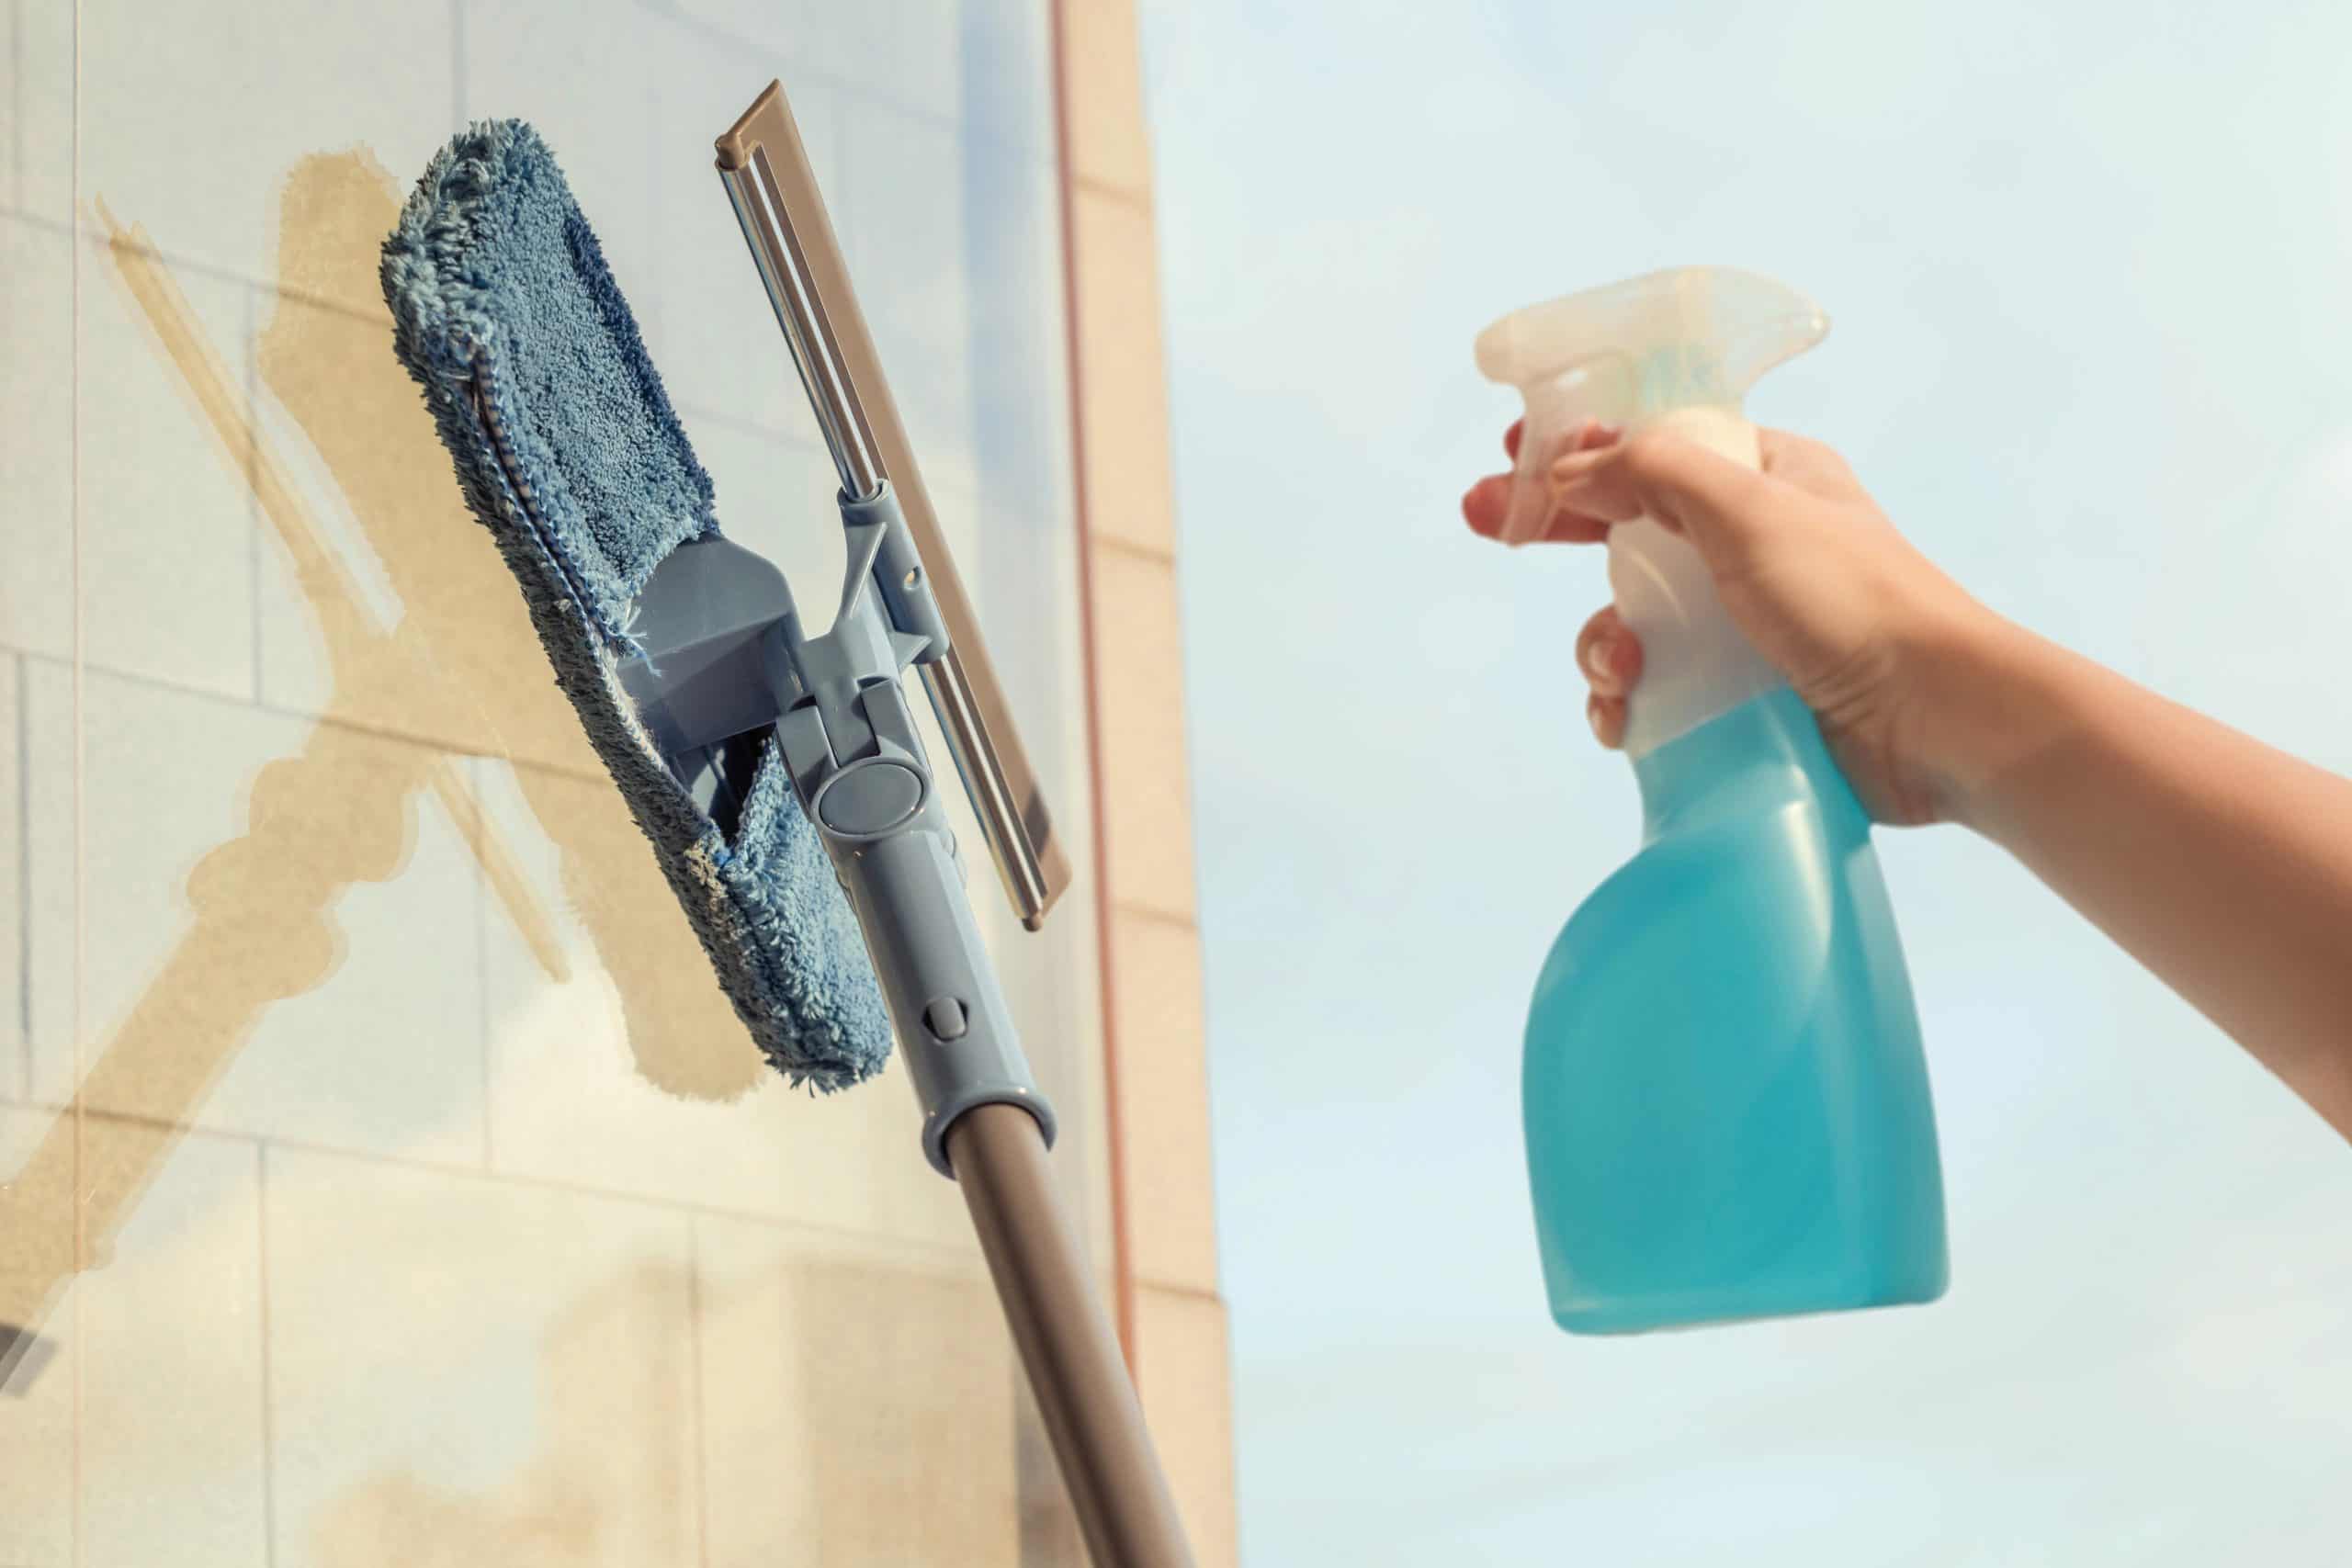
Clean the Surface:
- Dirt and Grime Removal: Over time, your exterior walls accumulate dirt, dust, and debris, which can prevent paint from adhering properly. Wash the surface with a mild detergent solution and scrub with a stiff brush. For particularly tough stains, a pressure washer can be used, but be cautious not to damage the surface with too much pressure.
- Ensure the Surface is Dry: After cleaning, allow the exterior to dry completely. This will ensure that no moisture gets trapped underneath the new coat of paint, which could lead to bubbling or peeling.
-
Repair Damages:
- Fill Cracks and Holes: Use a high-quality exterior filler or caulk to repair any cracks, holes, or gaps. If you’re dealing with large areas of damage, consider using a patching compound. Once filled, let the filler dry completely before moving on to the next step.
- Sanding: Once the repairs are dry, lightly sand the patched areas to ensure a smooth and even surface. This step will help the paint adhere better and give you a more polished finish.
-
Scrape off Old Paint:
- If you’re working with a surface that has peeling or chipped paint, you’ll need to scrape off the old paint before applying a new layer. Use a paint scraper or putty knife to remove the loose paint. After scraping, sand the edges of the remaining paint to create a smooth transition between the bare surface and the painted areas.
-
Prime the Surface:
- Why Primer is Important: Primer is essential, especially for surfaces that have been repaired or are bare wood. It creates a strong bond between the surface and the paint, improves paint adhesion, and helps to cover any stains or imperfections. Use a high-quality exterior primer that matches your surface type (wood, stucco, metal, etc.).
- Allow Primer to Dry Completely: Be sure to let the primer dry fully before applying your paint to avoid uneven results.
-
Mask Off Areas You Don’t Want Painted:
- Use painter’s tape to cover windows, trim, and any areas you want to keep free from paint. This ensures clean, sharp lines along the edges, and it helps protect other surfaces like your driveway, garden, or outdoor furniture from splatters.
Why Surface Preparation is So Important:
- Improves Paint Adhesion: Clean and smooth surfaces allow the paint to stick better, resulting in a more durable finish.
- Prevents Future Problems: Addressing damage and imperfections before painting ensures that you won’t have to deal with issues like peeling, cracking, or mold growth down the road.
- Aesthetic Appeal: A properly prepared surface gives you a smooth, professional-looking finish with fewer touch-ups needed after the painting is done.
Common Mistakes to Avoid:
- Skipping Cleaning: Even if the surface seems clean, it’s important to wash it. Dust and dirt may be invisible but can still interfere with the paint.
- Not Addressing Cracks and Holes: Leaving visible damage untreated will cause the paint to settle unevenly, making repairs visible under the fresh coat.
- Skipping Primer: Primer is not optional, especially for new surfaces or patched areas. It helps with coverage and ensures a long-lasting finish.
By investing time in surface preparation, you’ll make sure that your painting project is smooth, professional, and durable, ultimately saving you time and money in the long run!
3. Clear Your Exterior Area
Absolutely! Clearing your exterior area before starting a painting project is a crucial step that will help ensure everything goes smoothly, minimize mess, and keep you safe throughout the process. It’s easy to overlook, but having a clean, open workspace will improve your efficiency and prevent unnecessary headaches.
Here’s how you can go about clearing your exterior area effectively:
Steps to Clear Your Exterior Area for Painting:
-
Remove Outdoor Furniture:
- Start by moving any outdoor furniture, planters, and decorative items away from the painting area. These items can get in your way, and it’s better to keep them protected from accidental splashes or spills.
- If some items are too heavy or large to move, cover them with drop cloths or plastic sheets to protect them from paint splatters.
-
Clear the Path:
- Make sure there is a clear path to and from the area you’re painting, especially if you’ll be frequently moving paint supplies, ladders, or scaffolding.
- Trim back any overgrown plants, shrubs, or vines that might obstruct your movement or make it difficult to access areas of your home’s exterior.
-
Protect the Ground:
- Lay down drop cloths, plastic sheeting, or painter’s tarps to protect your driveway, walkway, garden, or lawn from paint spills.
- Make sure that the cloths or plastic sheeting are large enough to cover a wide area to catch any drips and spills while you work.
-
Move Vehicles and Equipment:
- If possible, park your vehicles away from the painting area to avoid any accidental paint splashes.
- Remove any tools or equipment that you don’t need during the painting process, as they can become tripping hazards.
-
Check for Power Lines or Other Obstructions:
- Make sure you’re aware of any power lines or obstacles in your painting area. These could interfere with your ladder, scaffolding, or paint sprayer.
- If you need to work near power lines, be extra cautious, and avoid using metal ladders.
-
Keep the Area Dry:
- If there’s any moisture or dampness on the ground, try to dry it off before you start painting. Wet ground can lead to slipping and might make your paint job less clean, especially when it comes to ladder placement.
-
Organize Your Supplies:
- Gather all of your paint, brushes, rollers, ladders, and other supplies in one central location that’s easy to access. This will save you time looking for things and help you maintain an organized work area.
-
Set Up a Safe Work Zone:
- Create a designated work zone for your ladders and scaffolding to ensure you’re painting safely. A safe, organized space will help you avoid accidents like tripping over tools or spilling paint.
- If you’re using scaffolding or tall ladders, ensure that these are stable and properly set up.
Why This Is Important:
- Improved Efficiency: When everything is organized and in place, you’ll work faster and more efficiently, which helps keep your project on track.
- Prevents Mess: By removing obstacles and covering sensitive areas, you’ll avoid unwanted paint splatters, drips, and spills on your furniture, landscaping, or driveway.
- Safety: With a clear path and a well-organized space, you reduce the chances of accidents, which can happen quickly when carrying large cans of paint or working on ladders.
- Better Results: A clean, clutter-free environment helps you focus more on the painting itself and ensures that no paint drips where it’s not supposed to.
Taking the time to clear the area before you start will make your exterior painting project smoother, safer, and more successful. You’ll be surprised at how much of a difference a well-organized, spacious area can make to the final result!
4. Lay Dropcloths
Exactly! While it’s true that spills and drips are often inevitable during any painting project, using drop cloths will help protect your exterior surfaces and save you from dealing with the mess afterward. They’re a simple yet essential step to avoid potential damage to your floors, plants, or furniture while ensuring that your painting project remains as tidy as possible.
Here’s why drop cloths are essential and how to use them effectively:
Why Drop Cloths Are Important:
- Prevents Paint from Seeping: Canvas drop cloths are thicker and less likely to allow paint to seep through, unlike plastic or thinner cloths. This ensures that your ground and surrounding areas are fully protected.
- Easy Cleanup: Drop cloths can easily be cleaned, especially if they’re made of durable materials like canvas. You can wash them after the project or shake out any paint residue to reuse them for future projects.
- Keeps Floors and Fixtures Safe: Whether you’re painting on a patio, driveway, or along your house’s exterior, placing drop cloths will prevent unwanted paint stains from occurring on floors, walkways, landscaping, or even fixtures like outdoor furniture and lighting.
- Helps with Drips: Painting at heights or with rollers can cause paint to drip. Drop cloths catch those drips, which keeps them from creating stains or unwanted marks on your surrounding environment.
How to Use Drop Cloths Effectively:
-
Cover the Ground:
- Lay down canvas drop cloths on the ground to catch any paint drips or spills as you work. Make sure to cover all areas around the painting site, especially those that are more prone to spills like walkways or driveways.
- Be generous with your coverage, even extending beyond the immediate area where you’ll be painting. The more you cover, the less chance there is for spills to get to unwanted places.
-
Protect Nearby Fixtures and Landscaping:
- Place drop cloths around exterior furniture, plants, and fixtures that could be near the work area. This will help protect them from paint overspray or drips.
- For plants or delicate landscaping, you can wrap them in plastic sheeting or cover them with lightweight cloths before placing the drop cloths around them. This provides extra protection from any accidental splashes or spills.
-
Use Several Layers for High Traffic Areas:
- If you’re working in areas with heavy foot traffic or around furniture, it’s a good idea to layer multiple drop cloths. This ensures that the paint doesn’t seep through to the surface underneath, and you’ll have extra protection where people might walk through or bump into things.
-
Secure the Drop Cloths:
- Make sure to secure the drop cloths with tape, bricks, or furniture to avoid them shifting while you work. This will ensure they stay in place and don’t leave any exposed areas where paint can leak out.
-
Clean Up As You Go:
- Try to clean up any spills as soon as they happen to prevent them from drying and causing permanent stains on your drop cloths or surrounding surfaces. A damp cloth can help wipe off fresh paint splatters.
Tip: Consider using painter’s tape around the edges of your drop cloths if you’re working near walls or other fixtures to prevent paint from getting on unwanted areas, ensuring a cleaner result.
Final Note:
Investing in quality canvas drop cloths will save you time, effort, and potentially a lot of frustration in the long run. It’s a small upfront cost that can protect your surfaces and ensure your painting project is a success. By being thorough with your drop cloth placement, you’ll be able to keep your work area clean and tidy, and your exterior painting project will go off without a hitch!
If you need professional help with your interior/exterior painting, Campbell Painting is here for you.
Our interior/exterior painting and washing services are available in Anchorage, AK.
Call us today at (907) 444-3657 for a FREE painting estimate.
Related: Painting Mistakes To Avoid For Your Fences in Anchorage, AK
Mistakes To Avoid In Painting Your Home Exterior in Anchorage, AK

Ben Campbell is the proud owner of Campbell Painting LLC, a successful painting company based in Anchorage, Alaska. As a third-generation member of the painting industry, Ben has a deep-seated passion for his profession that started with his grandfather, who came to Alaska to sell paint. Born and bred in Alaska, Ben’s connection to his community is genuine and strong. Since 2006, he has been providing top-quality painting services, enhancing the beauty of Anchorage one building at a time. He also studied at Santa Barbara City College, solidifying his industry knowledge. Ben’s journey, including overcoming adversity, is a testament to his resilience and commitment to his craft, which is reflected in the success and reputation of Campbell Painting LLC.
Recent Comments