
Materials To Get For Your Living Room Painting Project in Anchorage, AK
Our living room is truly the heart of our home—it’s where we gather with friends, host family reunions, or simply enjoy a cozy movie night with our loved ones. Because of this, its overall appearance plays a crucial role in setting the tone and vibe of the space. A well-maintained, visually appealing living room can enhance the comfort and ambiance of your home, and one of the best ways to refresh its look is with a fresh coat of paint.
However, starting a living room painting project can feel overwhelming, especially with all the materials and steps involved, particularly if you’re taking on the task yourself. From choosing the right paint colors to gathering the necessary supplies, there’s a lot to consider. It’s easy to get confused or unsure about where to begin, and the process can quickly become more complicated than you expected. But don’t worry, with the right preparation and a bit of guidance, you can tackle the project with confidence and turn your living room into a vibrant, welcoming space once again.
So, if you’re having a hard time shopping for your upcoming painting project, fret not – here’s a guide to help you!
Check out these Materials To Get For Your Living Room Painting Project.
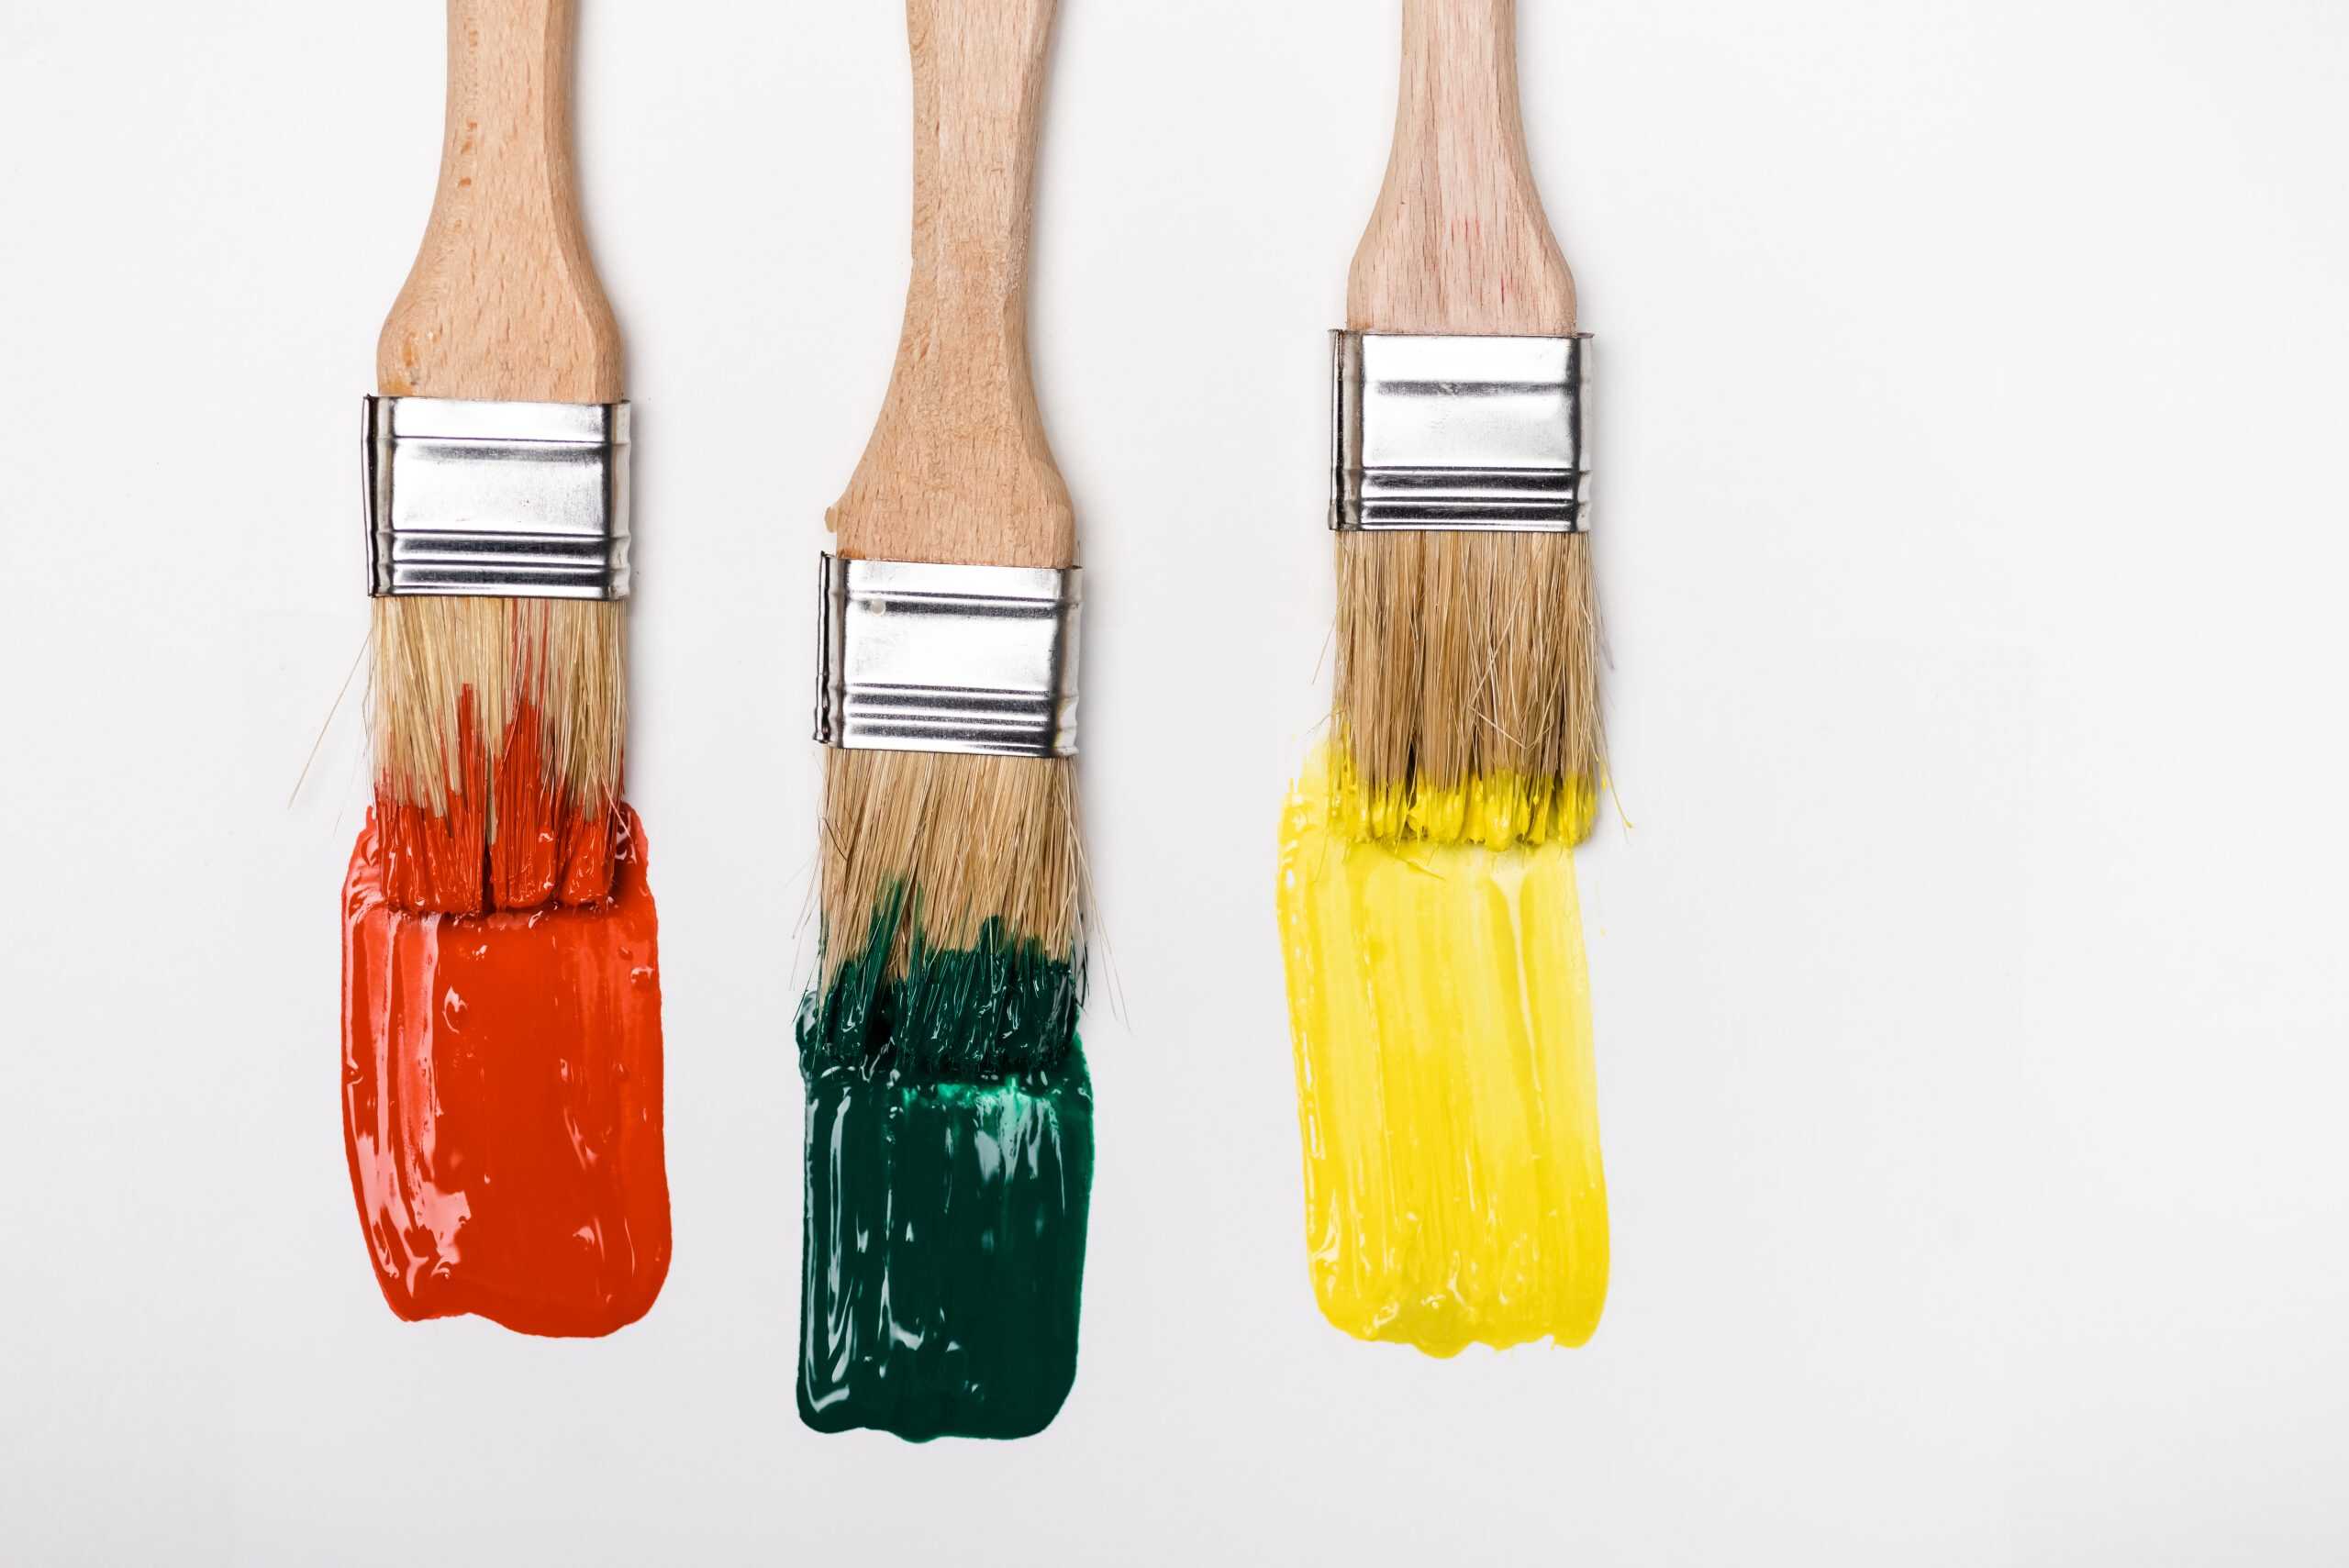
1. Paint
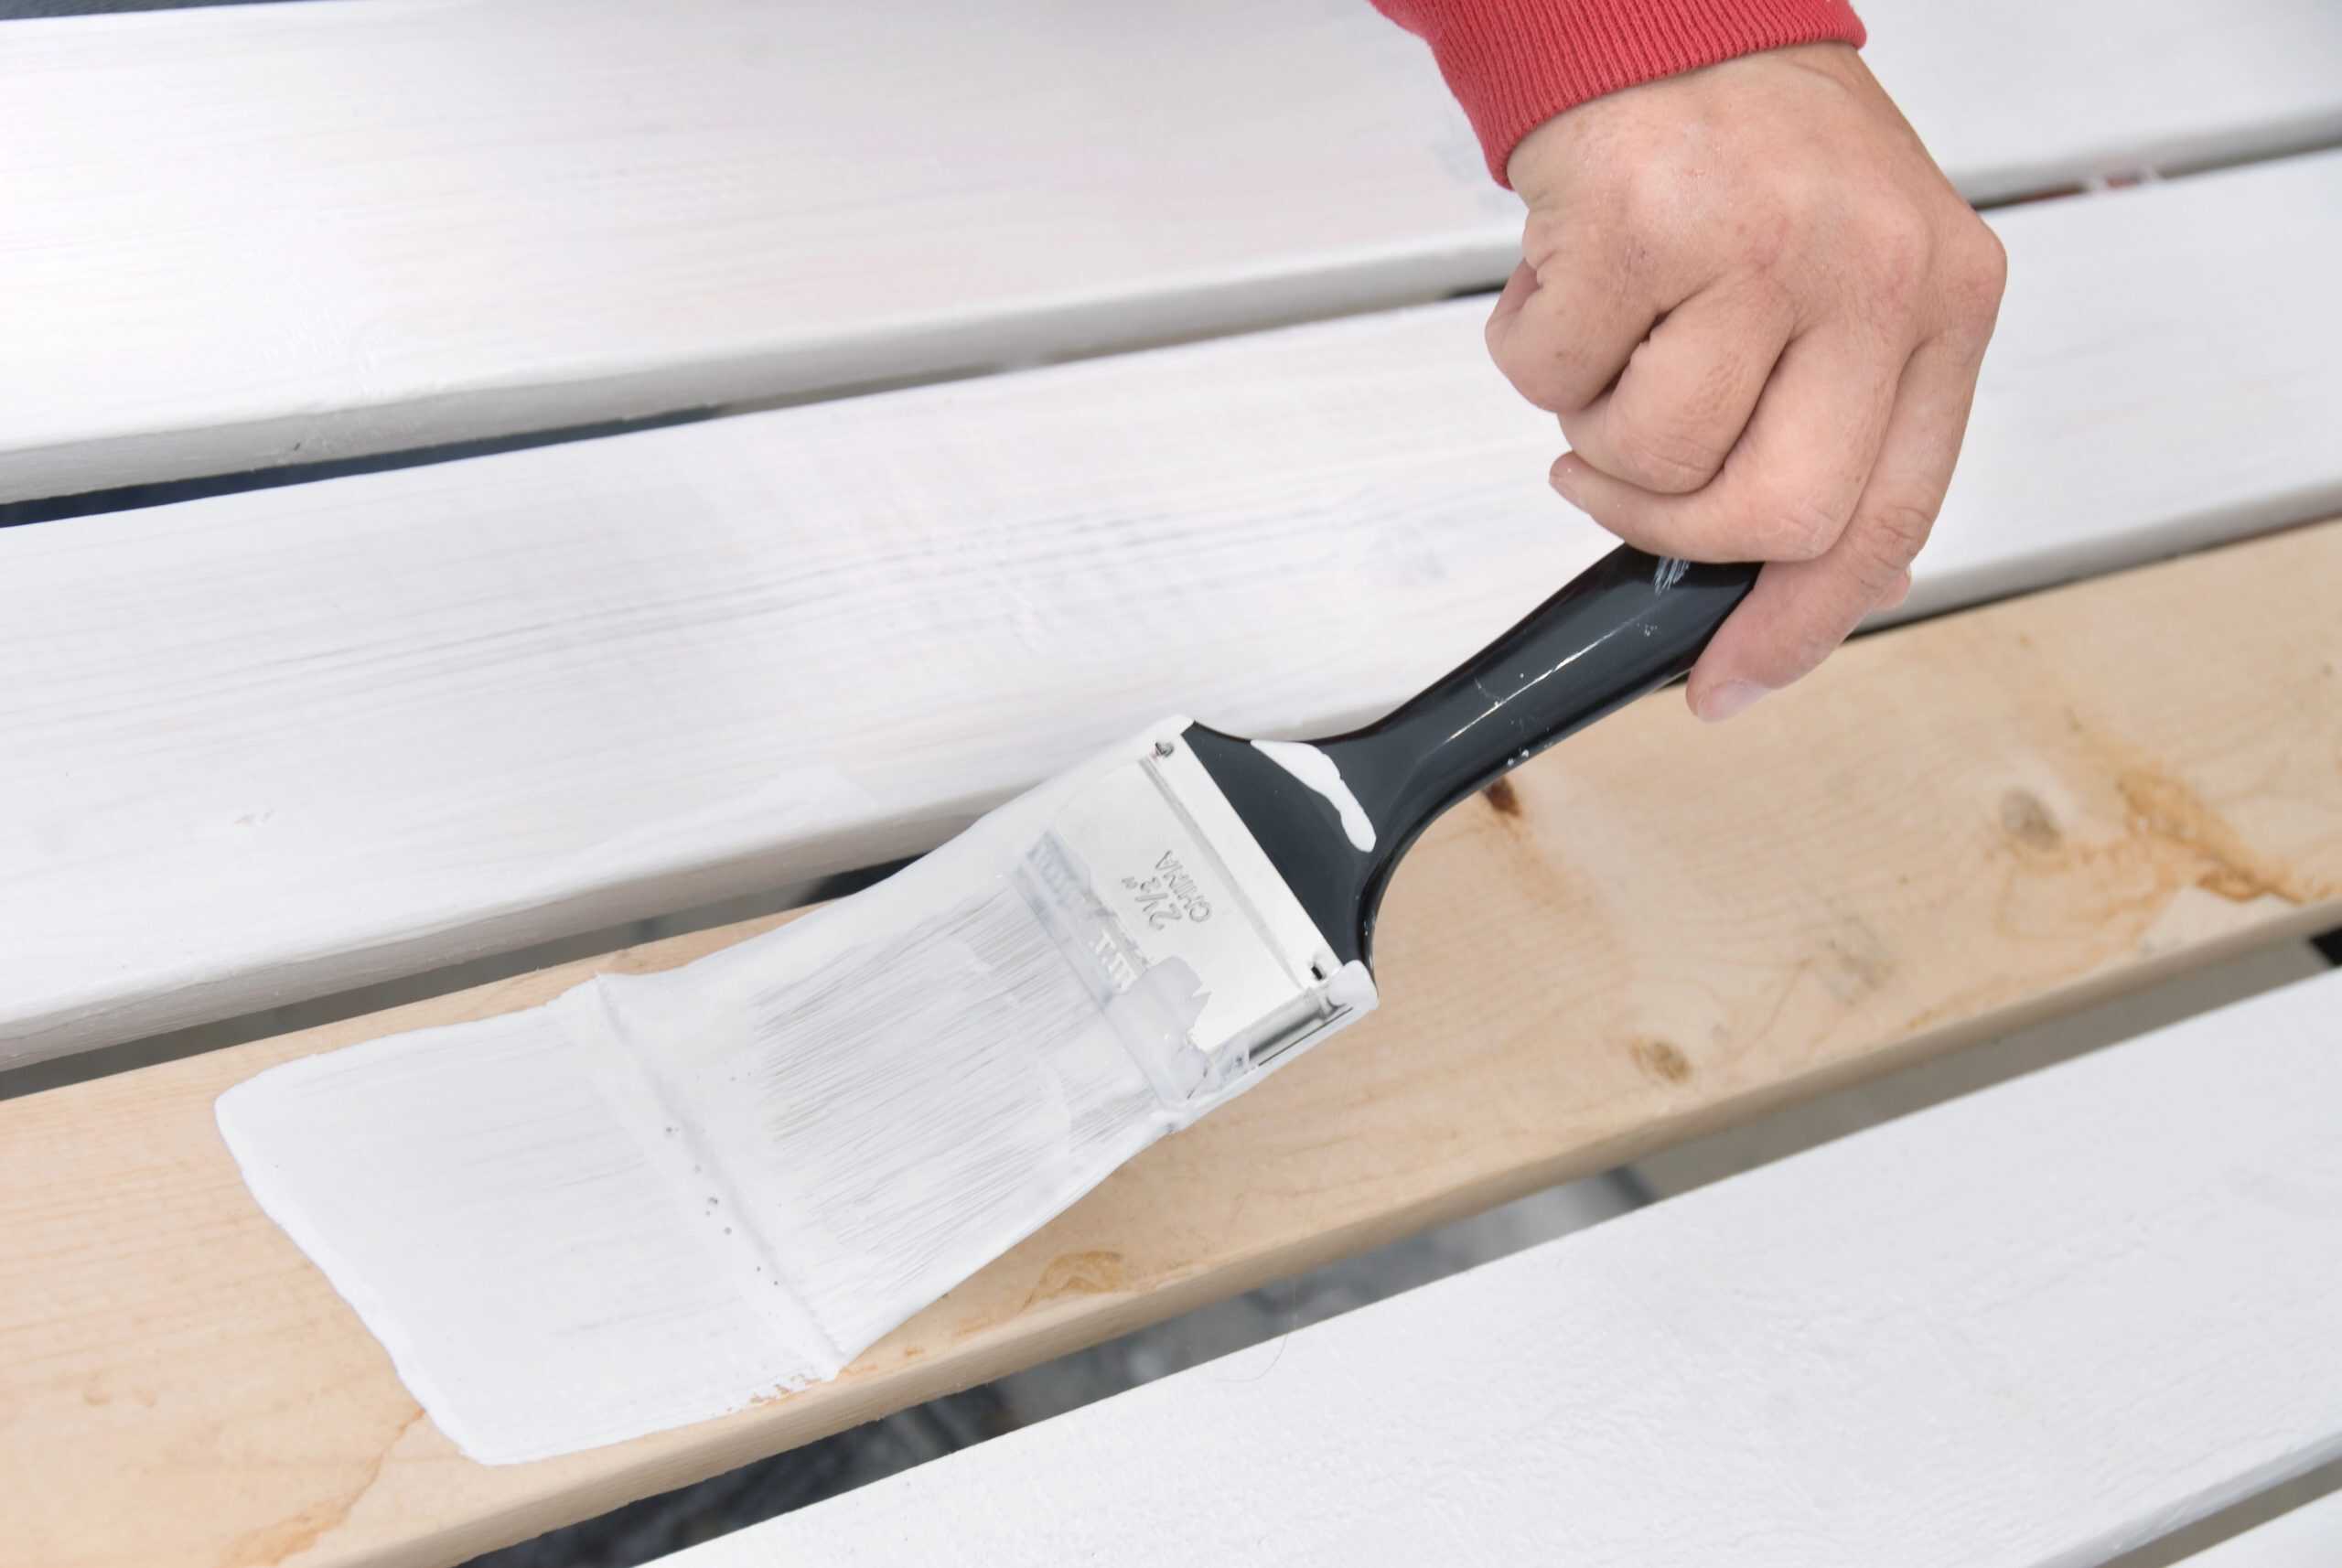
2. Primer
When it comes to painting, primer is just as important as the paint itself and should never be skipped. It’s a crucial step in ensuring that your painting project turns out well, so don’t overlook it in your upcoming living room makeover.
Primer serves several essential functions that help set the foundation for your paint. First and foremost, it improves the adhesion of your paint to the surface, making sure that the coat of paint sticks properly and lasts longer. Without primer, your paint may peel or chip more easily, especially on surfaces like drywall or wood that tend to be more porous.
In addition, primer provides better coverage for your paint, giving it a smoother, more even finish. It creates a uniform base, helping the paint to go on more evenly and reducing the number of coats needed. This can result in a brighter and more vibrant color, especially when you’re covering darker or uneven surfaces.
Thinking that you can skip the primer is a surefire way to set yourself up for an underwhelming painting project. Without it, you could end up with a blotchy, uneven finish that doesn’t look as polished or professional as you envisioned. Plus, skipping primer can lead to quicker wear and tear on your walls, requiring you to touch up the paint sooner than expected.
So, save yourself the hassle and make primer a part of your process. It’s the best way to ensure that your paint job is long-lasting, smooth, and looks flawless every time!
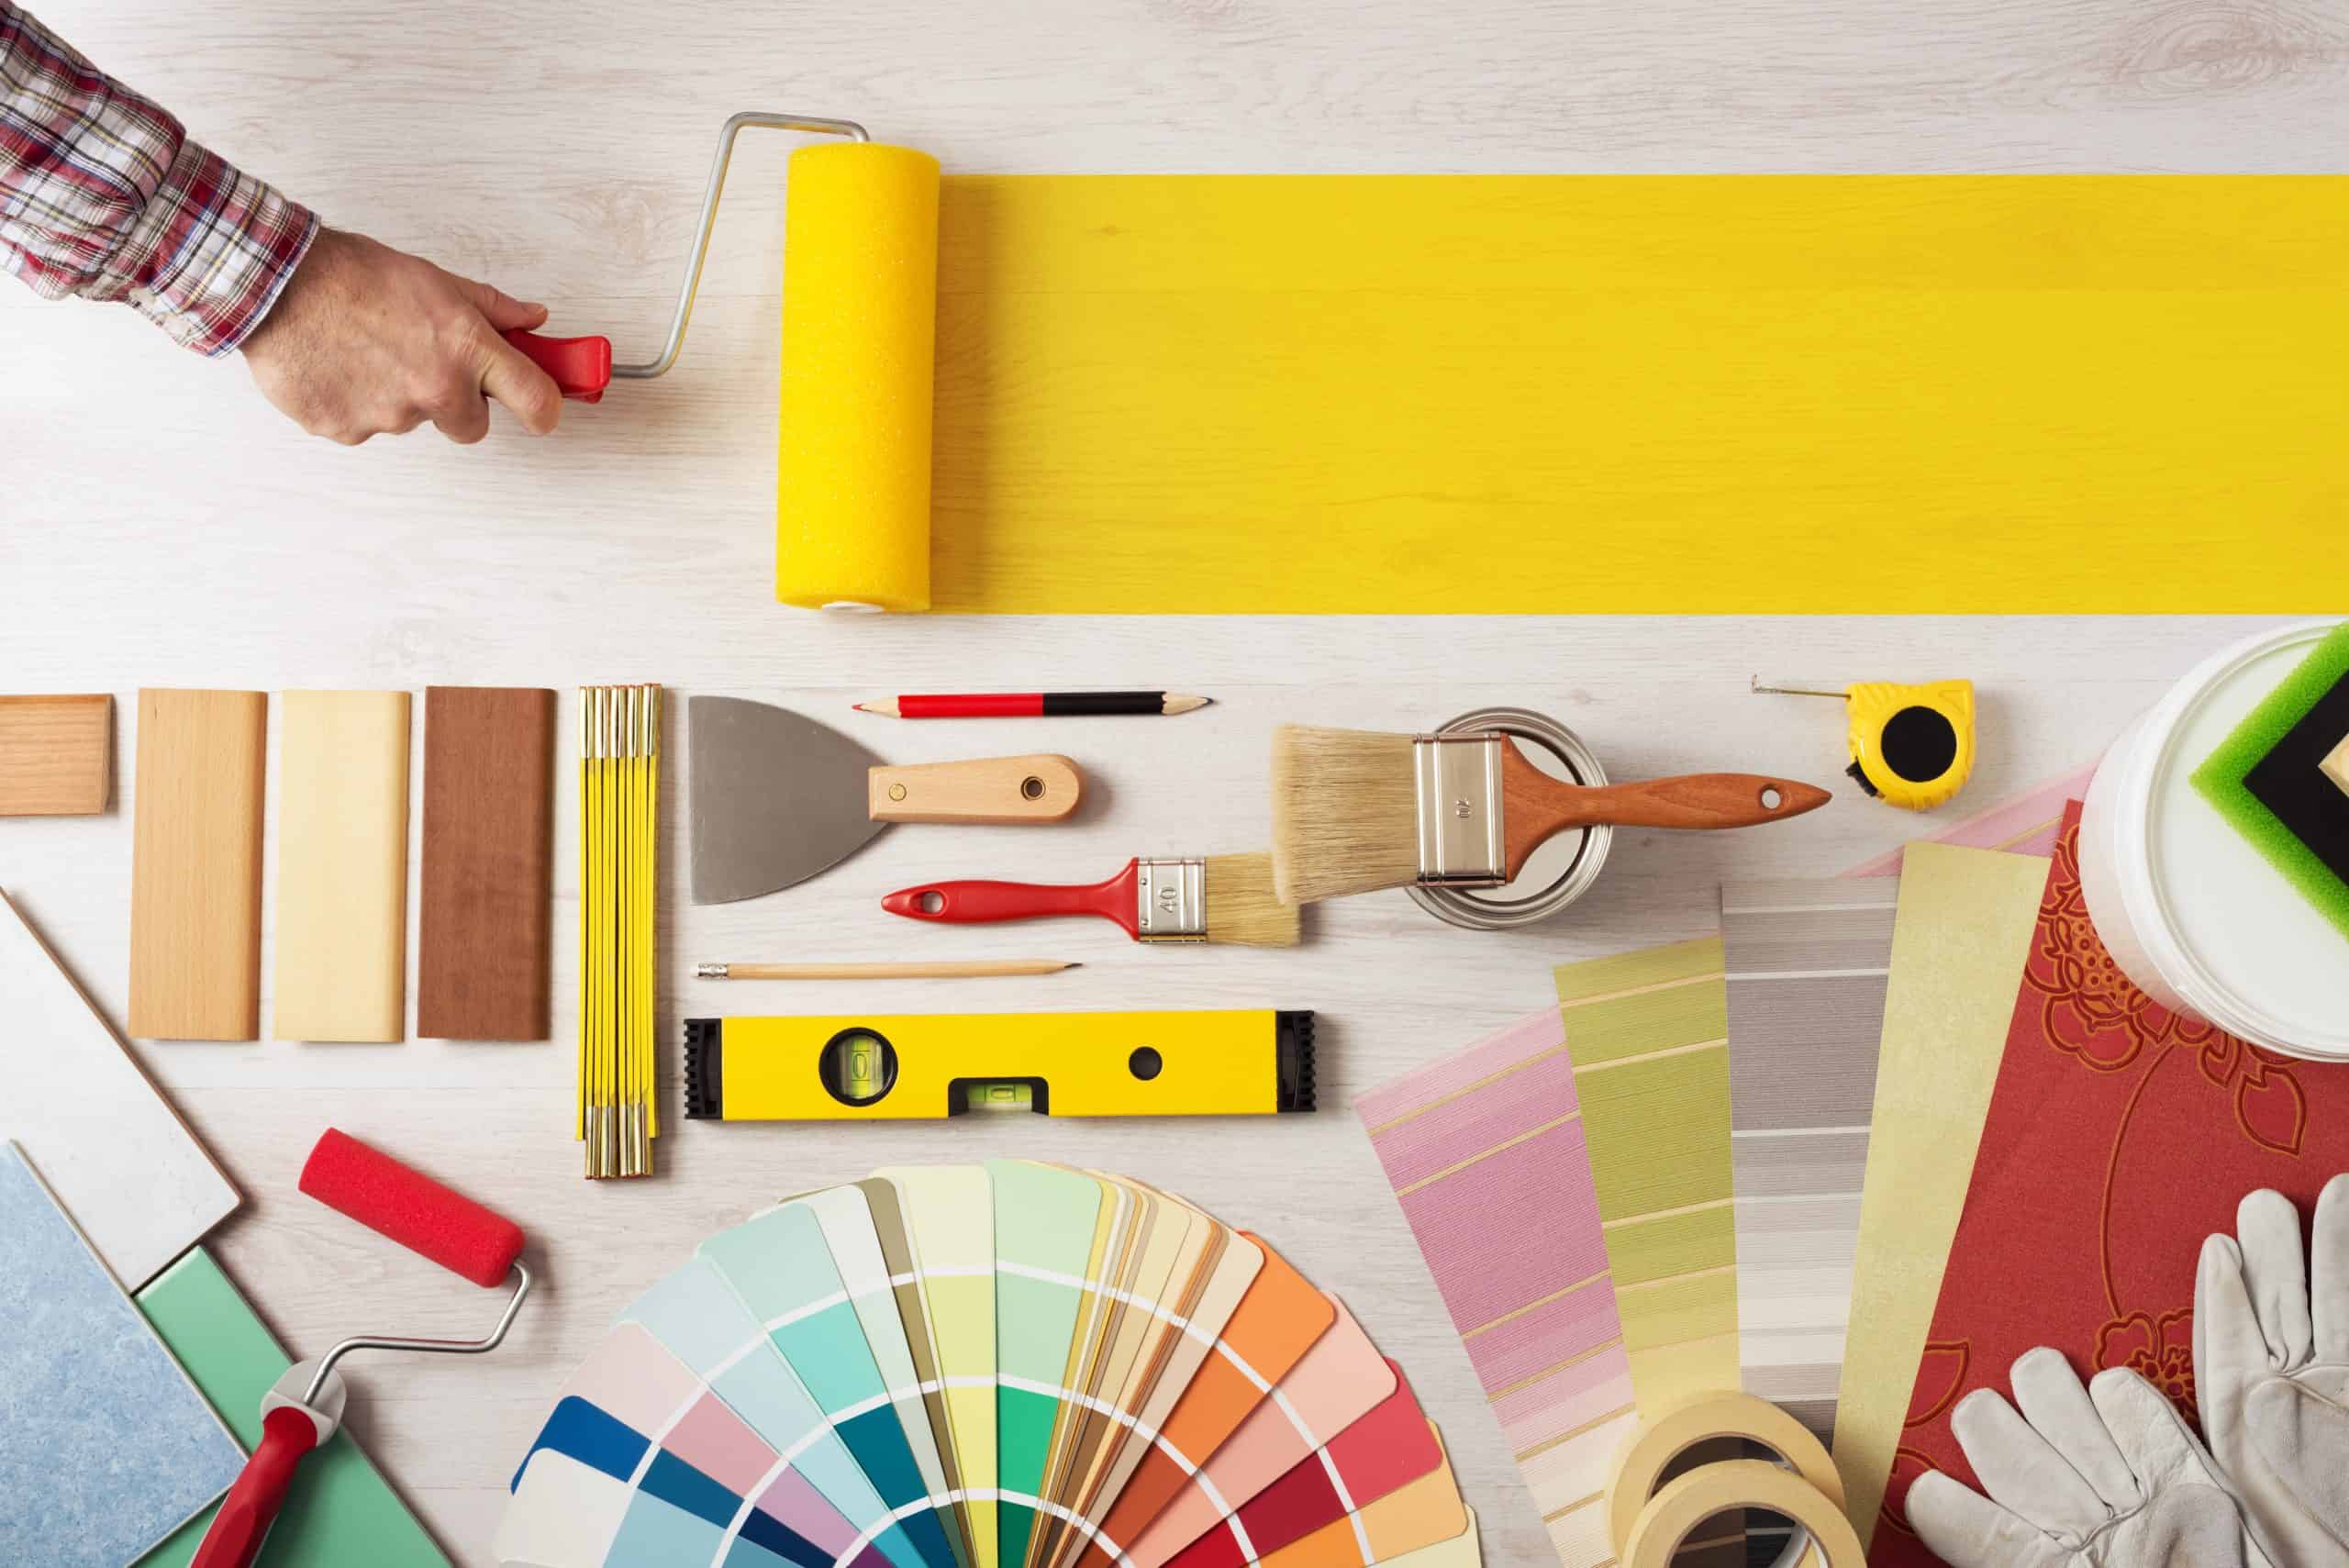
3. Painting Tools
To help ensure your living room painting project goes smoothly, having the right painting tools is essential. These tools will make your job easier, more efficient, and result in a better finish. Here’s what you’ll need to get:
1. Brushes and Rollers:
Investing in high-quality brushes and rollers is key to achieving a smooth, even application. Angled brushes are great for cutting in around edges, corners, and tight spaces—areas where rollers just can’t reach. For larger wall areas, rollers save you time and provide a consistent coat. Be sure to choose the right nap (the length of the roller fibers) for your wall texture. A shorter nap is ideal for smooth surfaces, while a longer nap works better for textured or rough walls.
2. Extension Poles and Ladders:
To comfortably reach higher walls and ceilings, an extension pole for your roller is a must-have. It will save your back and make painting more efficient. For even higher areas that can’t be reached with an extension pole, a stable ladder is necessary. Make sure the ladder is the appropriate size for your room’s height and securely placed before climbing to ensure your safety.
3. Paint Tray and Liners:
A paint tray is essential for loading your roller with paint. To make cleanup easier, consider using tray liners or disposable trays that you can throw away once the project is done. This will save you time scrubbing and allow you to focus on the painting itself. Make sure you get a sturdy tray that won’t bend or spill under the weight of the paint, especially if you’re working with larger amounts.
By equipping yourself with these essential tools, you’ll be well-prepared for a smoother, more efficient painting process. They’ll help ensure a beautiful, professional-looking result with minimal stress!
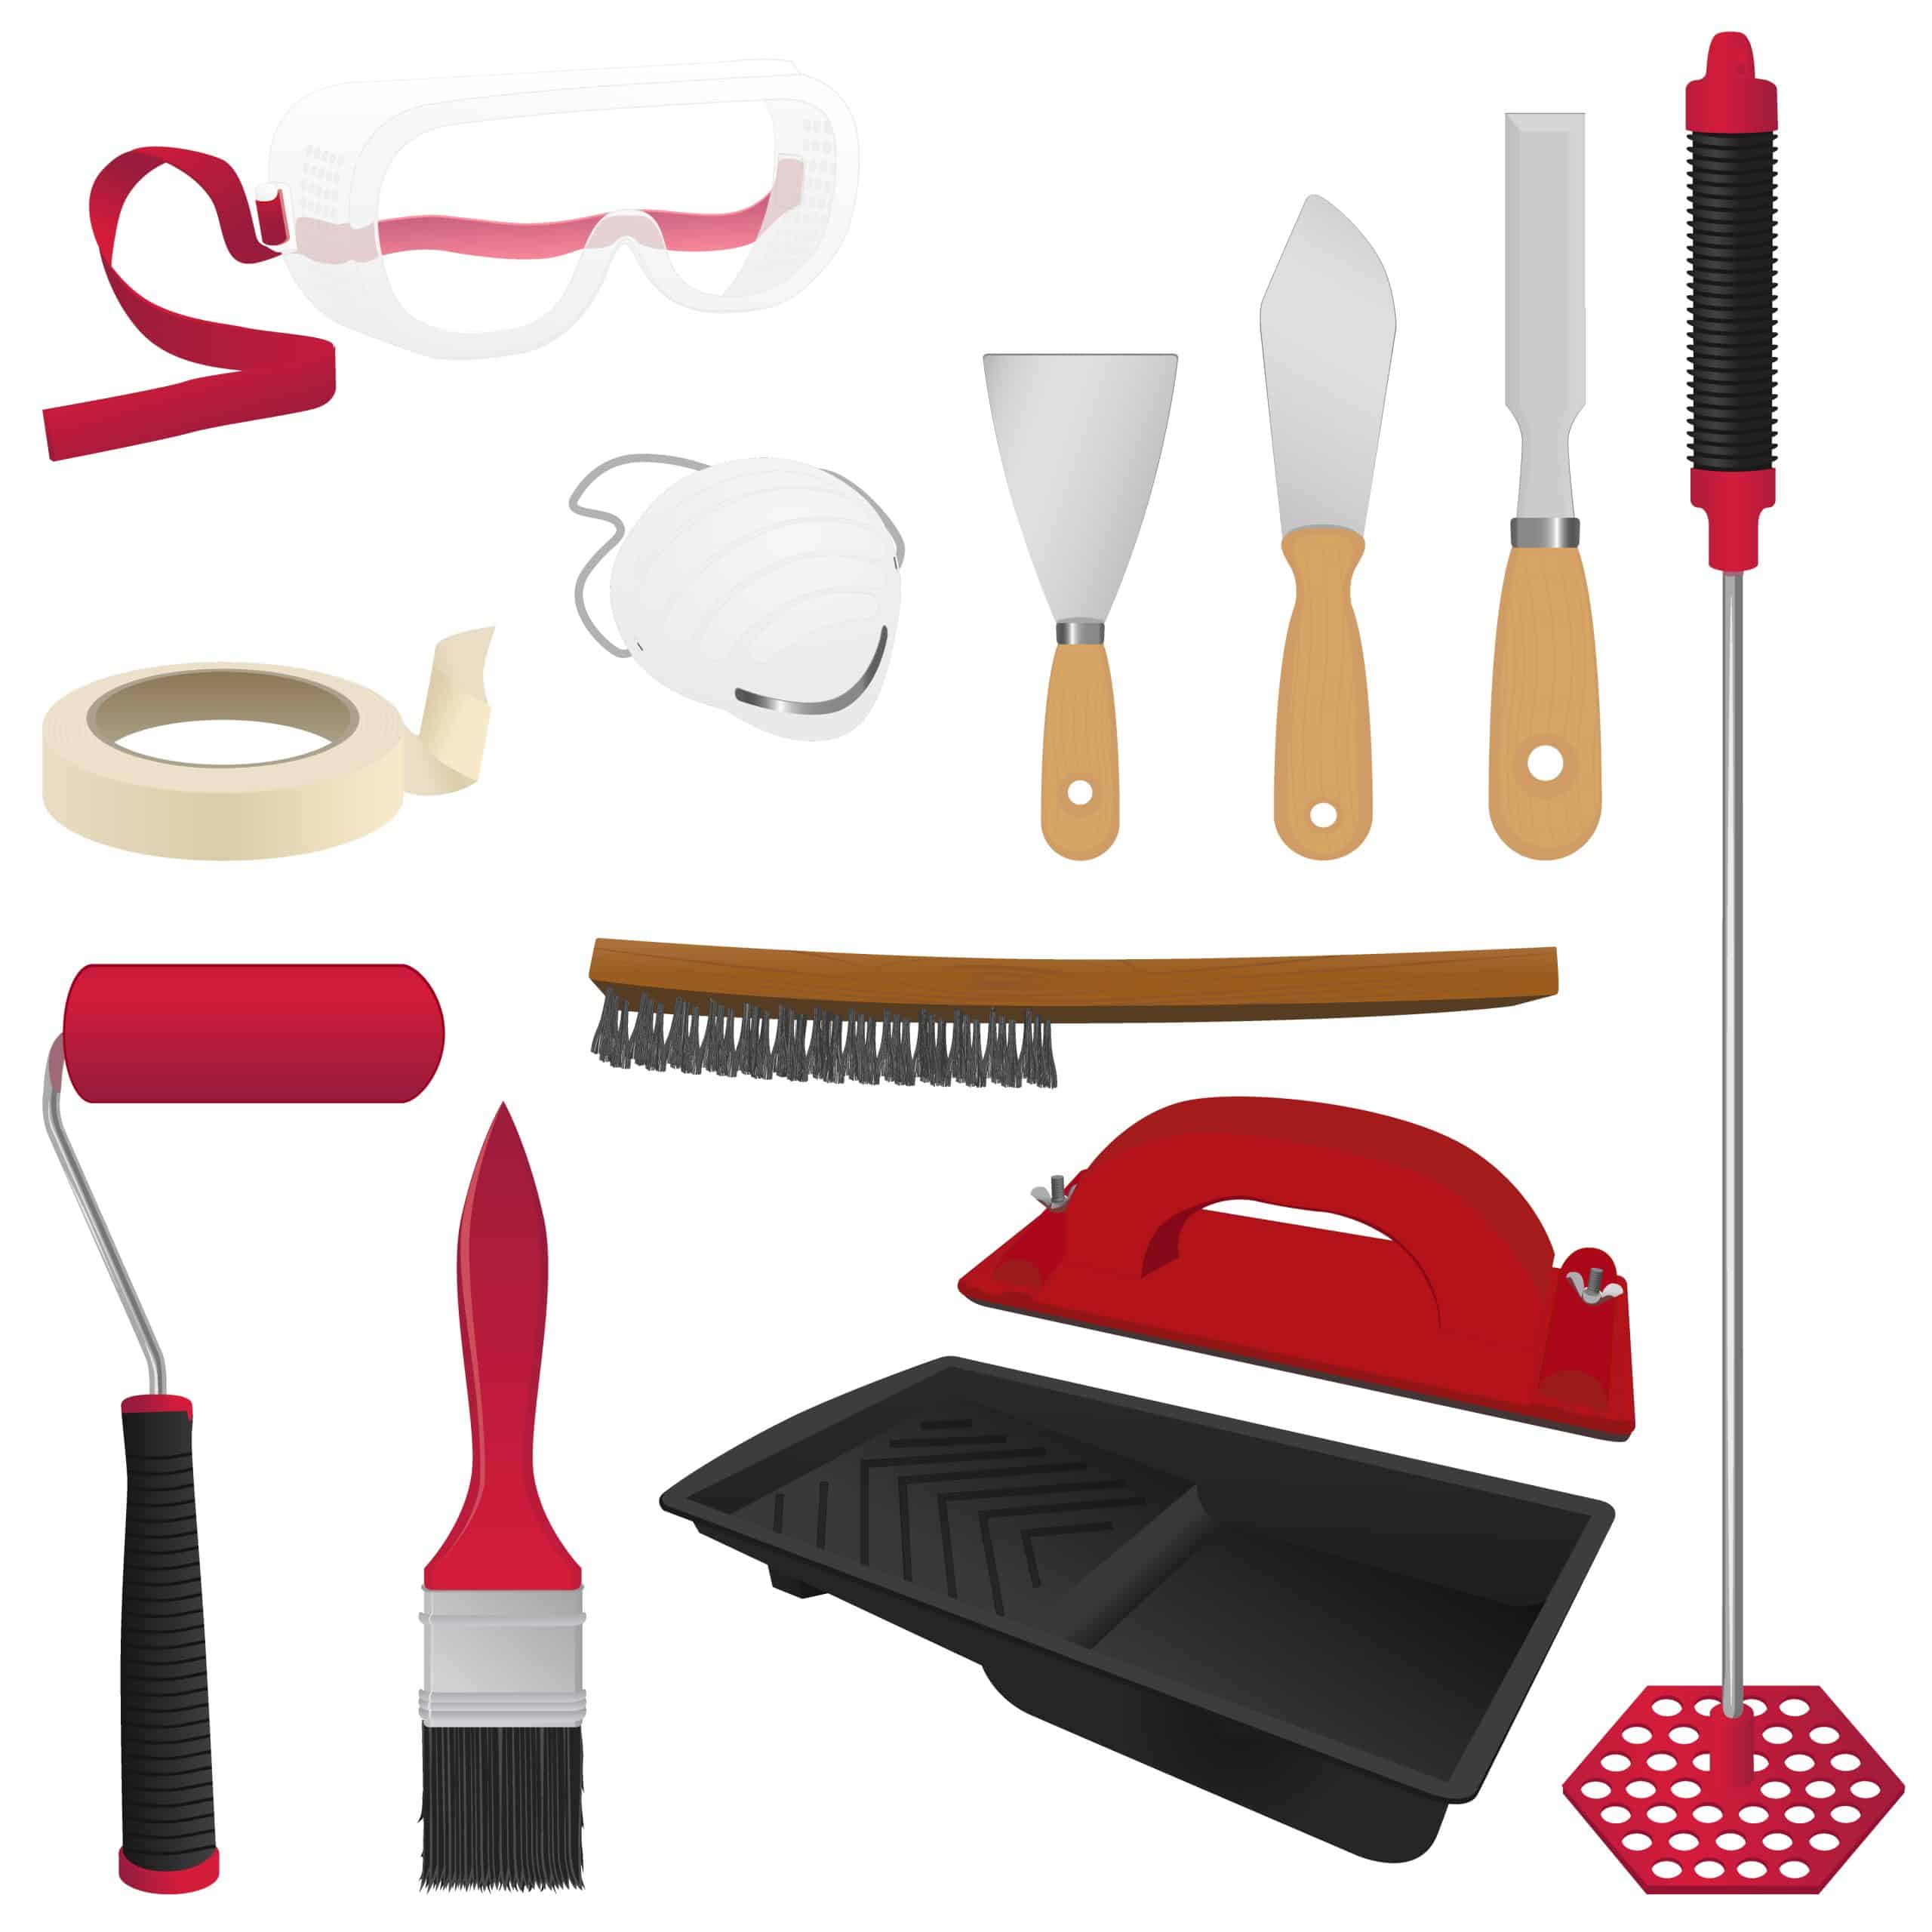
4. Preparation Supplies
Proper surface preparation is crucial to achieving a professional and long-lasting paint job, so you’ll need the right supplies to get your living room ready for painting. Here’s a list of essential items that will help you prepare your space:
1. Drop Cloths:
Protect your floors and furniture from accidental spills and splatters with drop cloths. Canvas cloths are a great choice because they are reusable, more durable, and less slippery than plastic, providing superior protection. They’ll also absorb paint better, reducing the chances of the paint soaking through and staining your surfaces.
2. Painter’s Tape:
For crisp, clean lines around edges, trim, windows, and door frames, painter’s tape is a must-have. It helps to keep the paint off areas you want to protect while ensuring neat and precise lines. Make sure to choose a high-quality painter’s tape that’s easy to remove and won’t leave behind any sticky residue when done properly.
3. Sandpaper and Putty Knife:
Before you even think about painting, your walls need to be smooth and ready for a new coat. Use sandpaper to smooth out rough spots, bumps, or imperfections. For any holes or cracks, a putty knife is essential for filling them in with spackling paste. This will ensure that your walls are even and flawless before applying paint, which is key for achieving a professional finish.
With these essential surface preparation tools, your living room painting project will be on the right track. By taking the time to properly prepare your space, you’ll ensure a smooth, beautiful result that lasts for years to come!
5. Cleaning Supplies
If you need professional help with your interior/exterior painting, Campbell Painting is here for you.
Our interior/exterior painting and washing services are available in Anchorage, AK.
Call us today at (907) 444-3657 for a FREE painting estimate.
Related: Materials To Get For Your Roof Painting Project in Anchorage, AK
Guide To Fixing Peeling Paint On Your Home Exterior in Anchorage, AK

Ben Campbell is the proud owner of Campbell Painting LLC, a successful painting company based in Anchorage, Alaska. As a third-generation member of the painting industry, Ben has a deep-seated passion for his profession that started with his grandfather, who came to Alaska to sell paint. Born and bred in Alaska, Ben’s connection to his community is genuine and strong. Since 2006, he has been providing top-quality painting services, enhancing the beauty of Anchorage one building at a time. He also studied at Santa Barbara City College, solidifying his industry knowledge. Ben’s journey, including overcoming adversity, is a testament to his resilience and commitment to his craft, which is reflected in the success and reputation of Campbell Painting LLC.
Recent Comments