
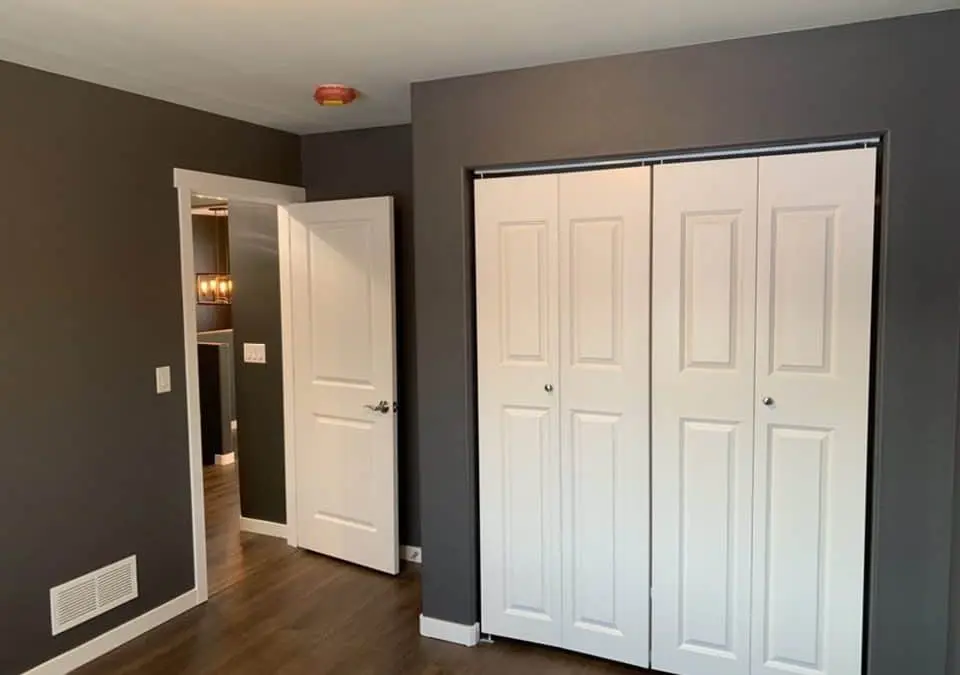
Painting doors and baseboards the right way comes down to three things: thorough prep, the correct trim paint, and patient technique that leaves a smooth, drip-free finish. Trim is the detail people notice most up close, so crisp doors and baseboards make an entire room look freshly renovated — even if the walls stay the same. Here’s the pro process, the products to use, and the mistakes that give away a rushed job.
Why do doors and baseboards make such a difference?
Trim frames every room. When doors and baseboards are scuffed, yellowed, or chipped, they drag down even a clean, well-painted wall. Refreshed trim does the opposite — it sharpens lines, brightens the space, and reads as “this home is cared for.”
In Anchorage, trim also takes real abuse: snow, grit, and salt tracked through entryways scuff baseboards and door bottoms, while long indoor winters mean we see those surfaces constantly. Crisp white or bright trim is one of the most cost-effective ways to make a room feel newer.
What paint should you use on trim?
Trim needs a tougher, smoother finish than walls. The right choice protects high-touch surfaces and wipes clean:
- Sheen: Semi-gloss or satin — durable, scrubbable, and it highlights clean lines
- Type: A quality acrylic/water-based enamel that levels smooth and resists yellowing
- Primer: Bonding primer on bare wood, stains, or when switching from oil to latex
Avoid flat or eggshell on trim — it scuffs easily and won’t take repeated cleaning. A good semi-gloss trim enamel is what gives doors and baseboards that hard, factory-like surface.
How to paint baseboards step by step
Baseboards are low, dusty, and close to flooring, so prep and masking matter most:
- Clean the baseboards — vacuum, then wipe away dust, grit, and grease.
- Sand lightly to dull the old finish and smooth any chips.
- Mask the wall edge and floor with painter’s tape; slide thin cardboard under the lip to protect flooring.
- Fill nail holes and gaps, then caulk the top seam where baseboard meets wall.
- Prime bare or patched spots.
- Paint with a quality angled brush, working in long, smooth strokes and maintaining a wet edge.
- Second coat after the first dries fully, then pull tape before the paint cures hard.
That caulk line in step 4 is the secret to a seamless look — it eliminates the shadow gap that makes trim look unfinished.
How to paint interior doors the right way
Doors show brush marks and drips more than any other surface, so technique counts:
- Remove hardware or mask it; ideally take the door off its hinges and lay it flat.
- Clean and lightly sand the whole surface so the new coat bonds.
- Prime stained, bare, or glossy areas.
- Follow the door’s structure on panel doors — panels first, then rails (horizontals), then stiles (verticals).
- Use a brush for detail and a small foam roller on flat areas for a smooth finish.
- Apply two thin coats rather than one thick one to avoid runs and sags.
Thin coats are the rule. Loading the brush to “get it done in one pass” is the fastest way to drips and a finish that never fully hardens.
What mistakes give away a rushed trim job?
Steer clear of the giveaways pros never leave behind:
- Skipping prep — painting over dust, grease, or gloss, so the finish peels
- No caulk at the wall seam, leaving a visible gap
- Thick coats that drip, sag, and stay soft
- Wrong sheen — flat trim that scuffs within months
- Pulling tape too late, which tears a dried paint edge
If this is starting to sound like a full weekend, it often is — trim is the most time-consuming part of any interior painting project precisely because the detail work can’t be rushed.
DIY or call a pro?
A single door or one room of baseboards is a satisfying DIY project. Whole-home trim — every door, every baseboard, plus window and door casings — is a big, exacting job where brush marks and uneven sheen show. If you want sharp, uniform results across the house without spending your weekends taping, a pro crew is worth it.
For Spenard homes and other Anchorage neighborhoods with older trim, professionals also handle the prep headaches — oil-to-latex transitions, yellowed surfaces, and filling decades of dings. Our interior painting tips for Anchorage homes cover the wider room-by-room approach.
Ready for crisp, fresh trim?
Campbell Painting LLC proudly serves Anchorage, AK and the surrounding neighborhoods — Sand Lake, Turnagain, Spenard, Government Hill, Huffman-O’Malley, Bayshore-Klatt, Rabbit Creek, Mid-Hillside, Abbott Loop, Scenic Foothills, University Area, Midtown, and Downtown. Call 907-444-3657 or visit our contact page to request a free, no-pressure estimate on your interior painting project.
Frequently Asked Questions
What kind of paint is best for doors and baseboards?
A water-based acrylic enamel in a semi-gloss or satin sheen is best for trim because it dries hard, resists scuffs, and wipes clean. Semi-gloss also highlights crisp lines on doors and baseboards. Pair it with a bonding primer on bare wood or when covering stains.
Should I paint baseboards or walls first?
Pros usually paint trim and baseboards first, let them cure, then tape them off and paint the walls — or vice versa with careful cutting in. The key is letting each surface dry fully before masking it. What matters most is clean prep and a steady hand at the edges.
How many coats do doors and baseboards need?
Two thin coats almost always give the best result. One thick coat tends to drip, sag, and stay soft, while two thin coats build an even, durable finish. Bare wood or a big color change may need a primer coat plus the two finish coats.
Do I need to sand trim before painting?
Yes, a light sanding is important. It dulls the old glossy finish so the new paint can grip, and it smooths chips and brush marks. Skipping this step is the most common reason trim paint later peels or chips on doors and baseboards.
How long does it take to paint all the trim in a house?
Whole-home trim is time-consuming — often several days — because every door, baseboard, and casing needs cleaning, sanding, masking, caulking, and two coats. The detail work is what makes it slow, which is why many Anchorage homeowners hand full-house trim to a professional crew.

Ben Campbell is the proud owner of Campbell Painting LLC, a successful painting company based in Anchorage, Alaska. As a third-generation member of the painting industry, Ben has a deep-seated passion for his profession that started with his grandfather, who came to Alaska to sell paint. Born and bred in Alaska, Ben’s connection to his community is genuine and strong. Since 2006, he has been providing top-quality painting services, enhancing the beauty of Anchorage one building at a time. He also studied at Santa Barbara City College, solidifying his industry knowledge. Ben’s journey, including overcoming adversity, is a testament to his resilience and commitment to his craft, which is reflected in the success and reputation of Campbell Painting LLC.
Recent Comments