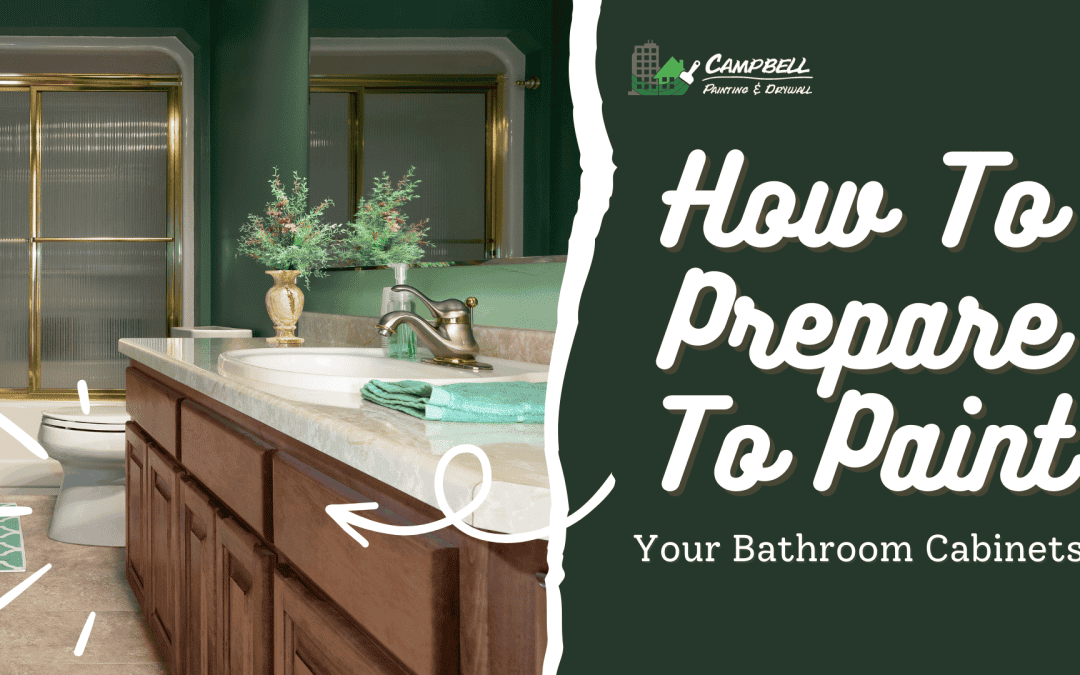
How To Prepare To Paint Your Bathroom Cabinets in Anchorage, AK
If you are looking for a way to freshen up your bathroom’s overall appeal, applying a fresh coat of paint on your bathroom cabinets might be the way to go!
Doing a bathroom cabinet painting project can be a cost-effective way to rejuvenate the entire space.
However, as straightforward as the job may sound, doing the project hastily without properly preparing for it will lead you straight to failure.
So, to help you avoid that, here’s How To Prepare To Paint Your Bathroom Cabinets.
1. Gather All Necessary Painting Materials
One of the first things you will need to do when preparing for your bathroom cabinet painting project is to gather all the necessary materials. Having everything you need ahead of time will help make the process much smoother and more efficient. Below is a comprehensive list of the essential items you’ll need to get started:
1. Paint and Primer
- Why it’s important: Choose high-quality paint and primer that are specifically designed for bathroom environments. These products need to withstand humidity and frequent cleaning, which are common in bathrooms.
- Tip: For bathrooms, oil-based paints or moisture-resistant latex paints are ideal because they hold up well to humidity.
2. Cleaning Supplies
- Why it’s important: Clean surfaces are critical for a smooth and long-lasting finish. Use mild detergent, a scrub brush, and a degreaser to remove grime, grease, and soap scum from the cabinets before you begin painting.
- Tip: Make sure the cabinets are completely dry after cleaning to avoid trapping moisture under the paint.
3. Sandpaper
- Why it’s important: Use fine-grit sandpaper (120 to 220 grit) to smooth the cabinet surfaces and create a better bonding surface for the primer and paint. Sanding also helps to remove any imperfections or rough spots on the wood.
- Tip: Lightly sand between coats of primer and paint for a smooth finish.
4. Painter’s Tape
- Why it’s important: Protect areas around the cabinets, such as walls, counters, and any hardware that you don’t want painted, with painter’s tape. This will help ensure clean, sharp edges.
- Tip: Press the tape down firmly to avoid paint seeping underneath.
5. Drop Cloths or Plastic Sheets
- Why it’s important: Protect the floor and surrounding areas from paint drips and splatters by covering them with drop cloths or plastic sheets. This is a simple but important step in keeping the space neat.
- Tip: Use plastic sheets if you need a larger surface to cover or canvas drop cloths if you want something reusable.
6. Screwdriver or Drill
- Why it’s important: Use a screwdriver or drill to remove cabinet doors, drawers, and hardware. This will allow you to paint more easily and provide a clean finish on all surfaces.
- Tip: Label the hardware or take photos to ensure you reassemble everything correctly after painting.
7. Paint Brushes and Rollers
- Why it’s important: Choose high-quality brushes for detailed areas (like edges or crevices) and foam rollers for larger flat surfaces. These tools will help achieve a smooth and even finish.
- Tip: Invest in angled brushes for easier edge work.
8. Tack Cloths
- Why it’s important: After sanding, use tack cloths to wipe down the cabinets and remove any dust or debris left behind. This step ensures a clean surface for painting.
- Tip: Make sure to use a tack cloth that is lightly dampened to trap and lift the dust.
9. Wood Filler
- Why it’s important: If there are any holes, cracks, or imperfections in the wood, use wood filler to fill them before painting. This will help create a smooth, flawless surface.
- Tip: Allow the filler to dry completely before sanding it smooth.
10. Safety Gear
- Why it’s important: Protect yourself while working by wearing gloves, goggles, and a mask. Sanding and painting can create dust and fumes, so ensure you’re well protected.
- Tip: Consider wearing disposable gloves to keep your hands clean and to avoid touching the paint.
With these materials, you’ll be ready to tackle your bathroom cabinet painting project. Each item plays a crucial role in achieving a smooth, professional-looking finish while ensuring that the job is done safely and efficiently. Happy painting!
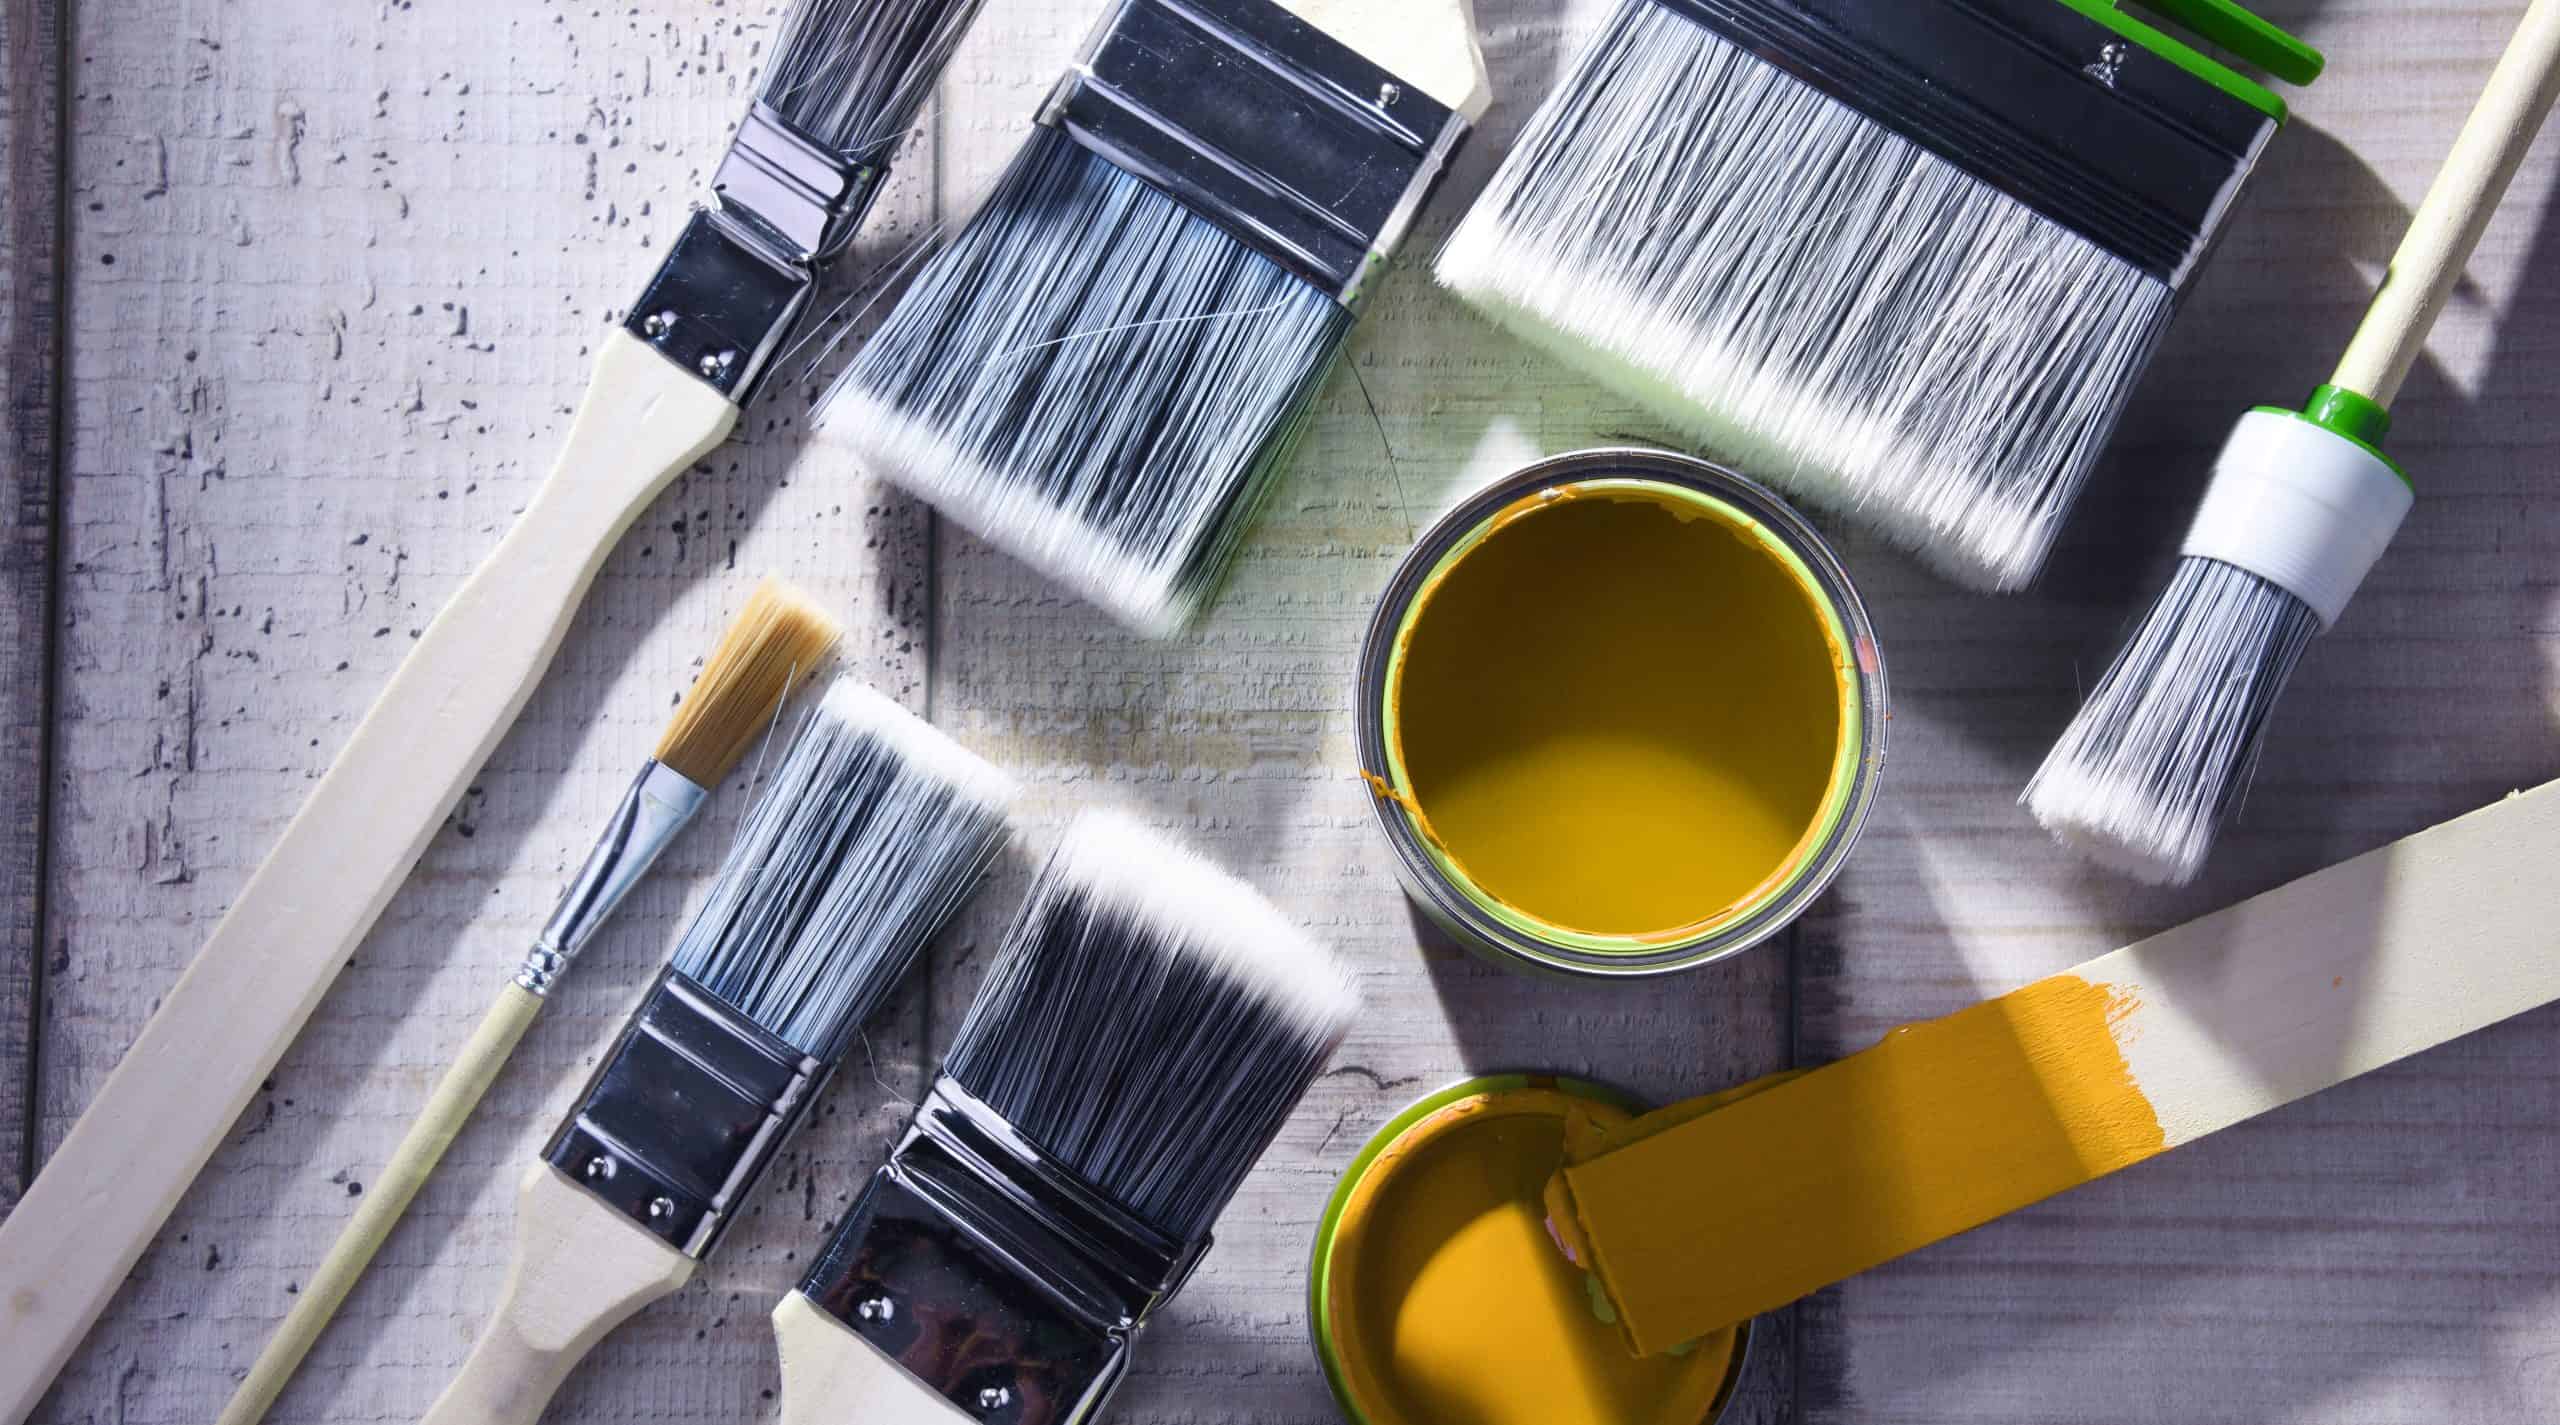
Paint can and paintbrushes of different size for home decorating purposes.
2. Remove Doors, Drawers, and Other Hardware
It can be quite challenging to paint an even coat on your bathroom cabinets with the doors, drawers, and hardware still attached. To ensure a more efficient and precise painting process, removing these components is a crucial preparation step.
Why You Should Remove Doors and Drawers
Removing the doors and drawers from your cabinets will give you more control and allow you to lay them flat on a surface, making it easier to apply an even coat of paint. Plus, painting them separately from the cabinet body ensures that every inch gets proper coverage and a professional finish.
How to Remove the Doors and Drawers:
-
Unscrew the Hardware: Use a screwdriver or drill to remove the screws holding the doors, drawers, and any hardware in place, such as knobs and hinges.
-
Label Each Piece: As you remove each door and drawer, label them to ensure you know exactly where they belong when it’s time to reassemble everything. A simple number or letter system can do the trick, such as labeling each door with “Left” and “Right” or assigning numbers like “Door 1”, “Door 2”, etc.
-
Organize the Hardware: Place all screws, knobs, and hinges in a labeled bag or container to avoid losing any pieces. This will keep everything organized and ensure that you won’t be scrambling to find the right parts when it’s time to reassemble.
The Benefit:
This small step of labeling and organizing can save you from a frustrating puzzle at the end of your project. Instead of worrying about which screw goes where or which door fits which frame, you’ll have everything organized and ready for a smooth reassembly once your cabinets are painted and dried.
By removing and organizing these parts, you’re ensuring a cleaner, more precise paint job and making the reassembly process quicker and easier. Happy painting!
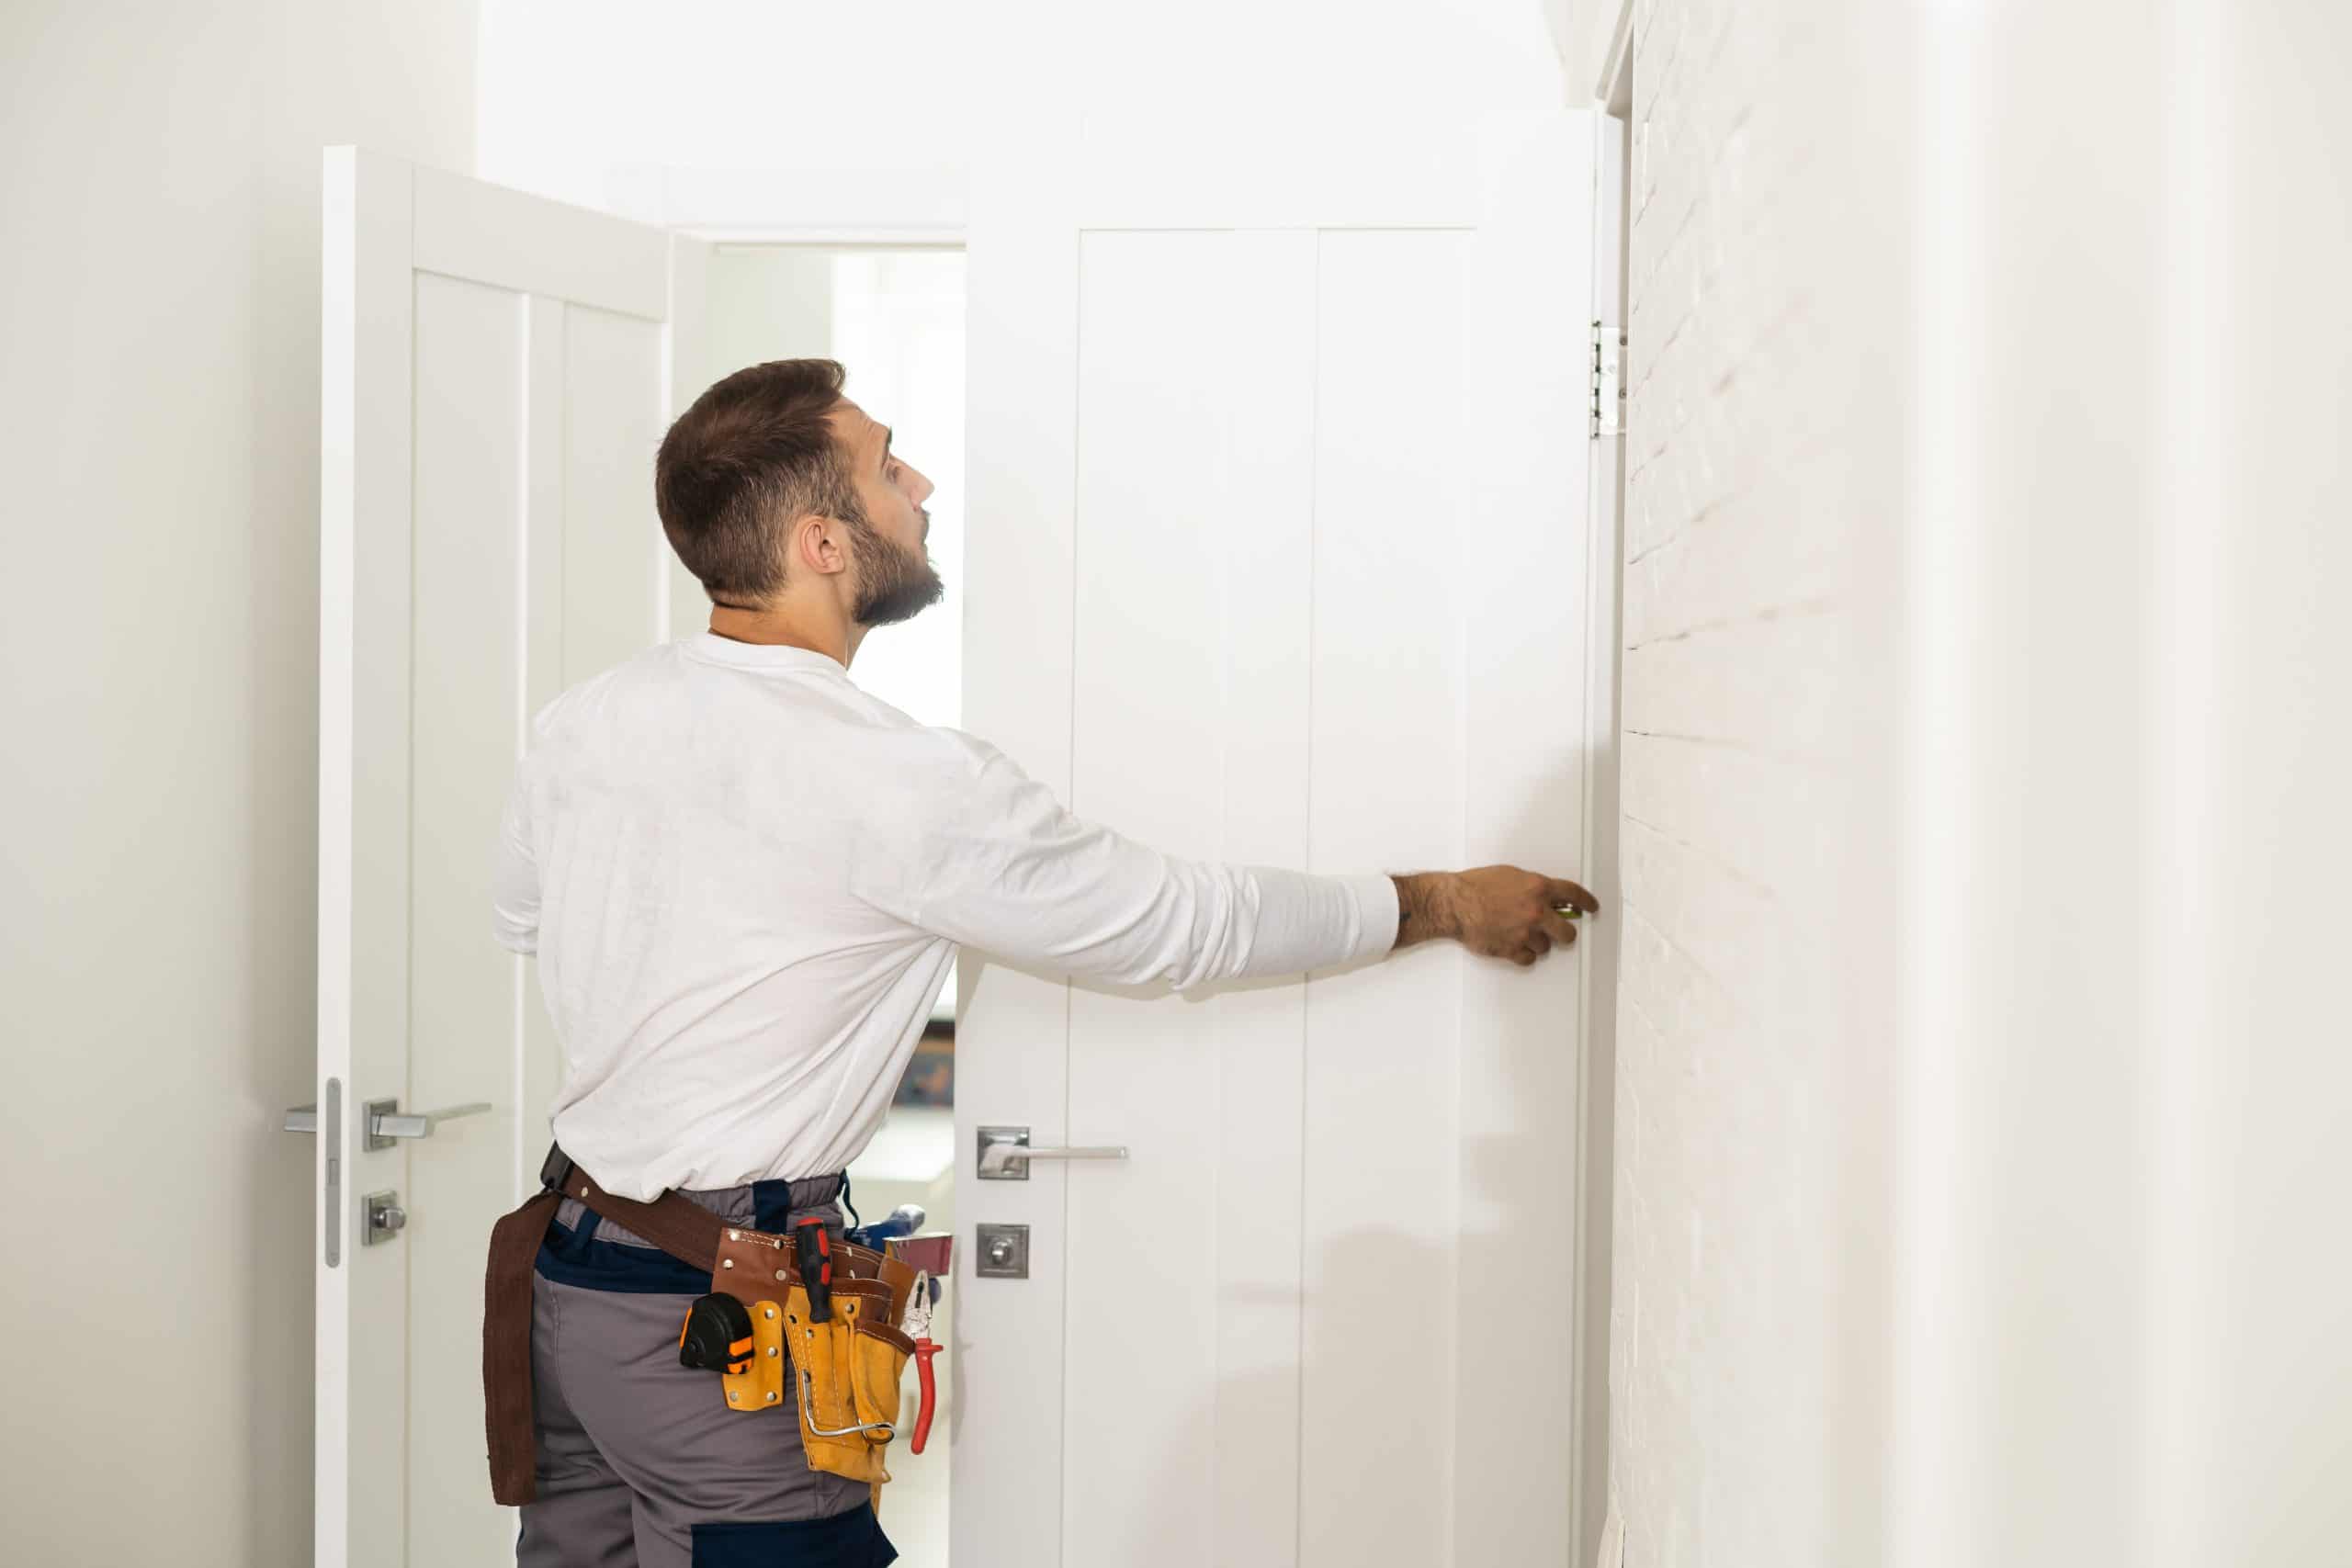
High Angle View Of Male Carpenter With Screwdriver Fixing Door Lock.
3. Surface Preparation
Proper surface preparation is essential for ensuring that your paint adheres well and results in a smooth, long-lasting finish. Bathrooms, in particular, are prone to grime, soap residue, and other build-ups, all of which can interfere with paint adhesion if not addressed properly.
Here’s how to properly prepare your bathroom cabinet surfaces before applying paint:
1. Clean Thoroughly
- Why it’s important: Cleaning removes dirt, grease, soap scum, and other build-ups that could prevent the paint from adhering properly to the surfaces.
- How to do it:
- Use a mild detergent and a scrub brush to clean the cabinets. Focus on all surfaces, especially the areas that are most exposed to moisture.
- For tougher grime or areas with build-up, a degreaser can work wonders.
- Rinse the cabinets thoroughly with clean water to ensure no detergent residue is left behind, which could also affect paint adhesion.
- Allow the cabinets to dry completely before proceeding to the next step. This ensures no moisture is trapped underneath the paint.
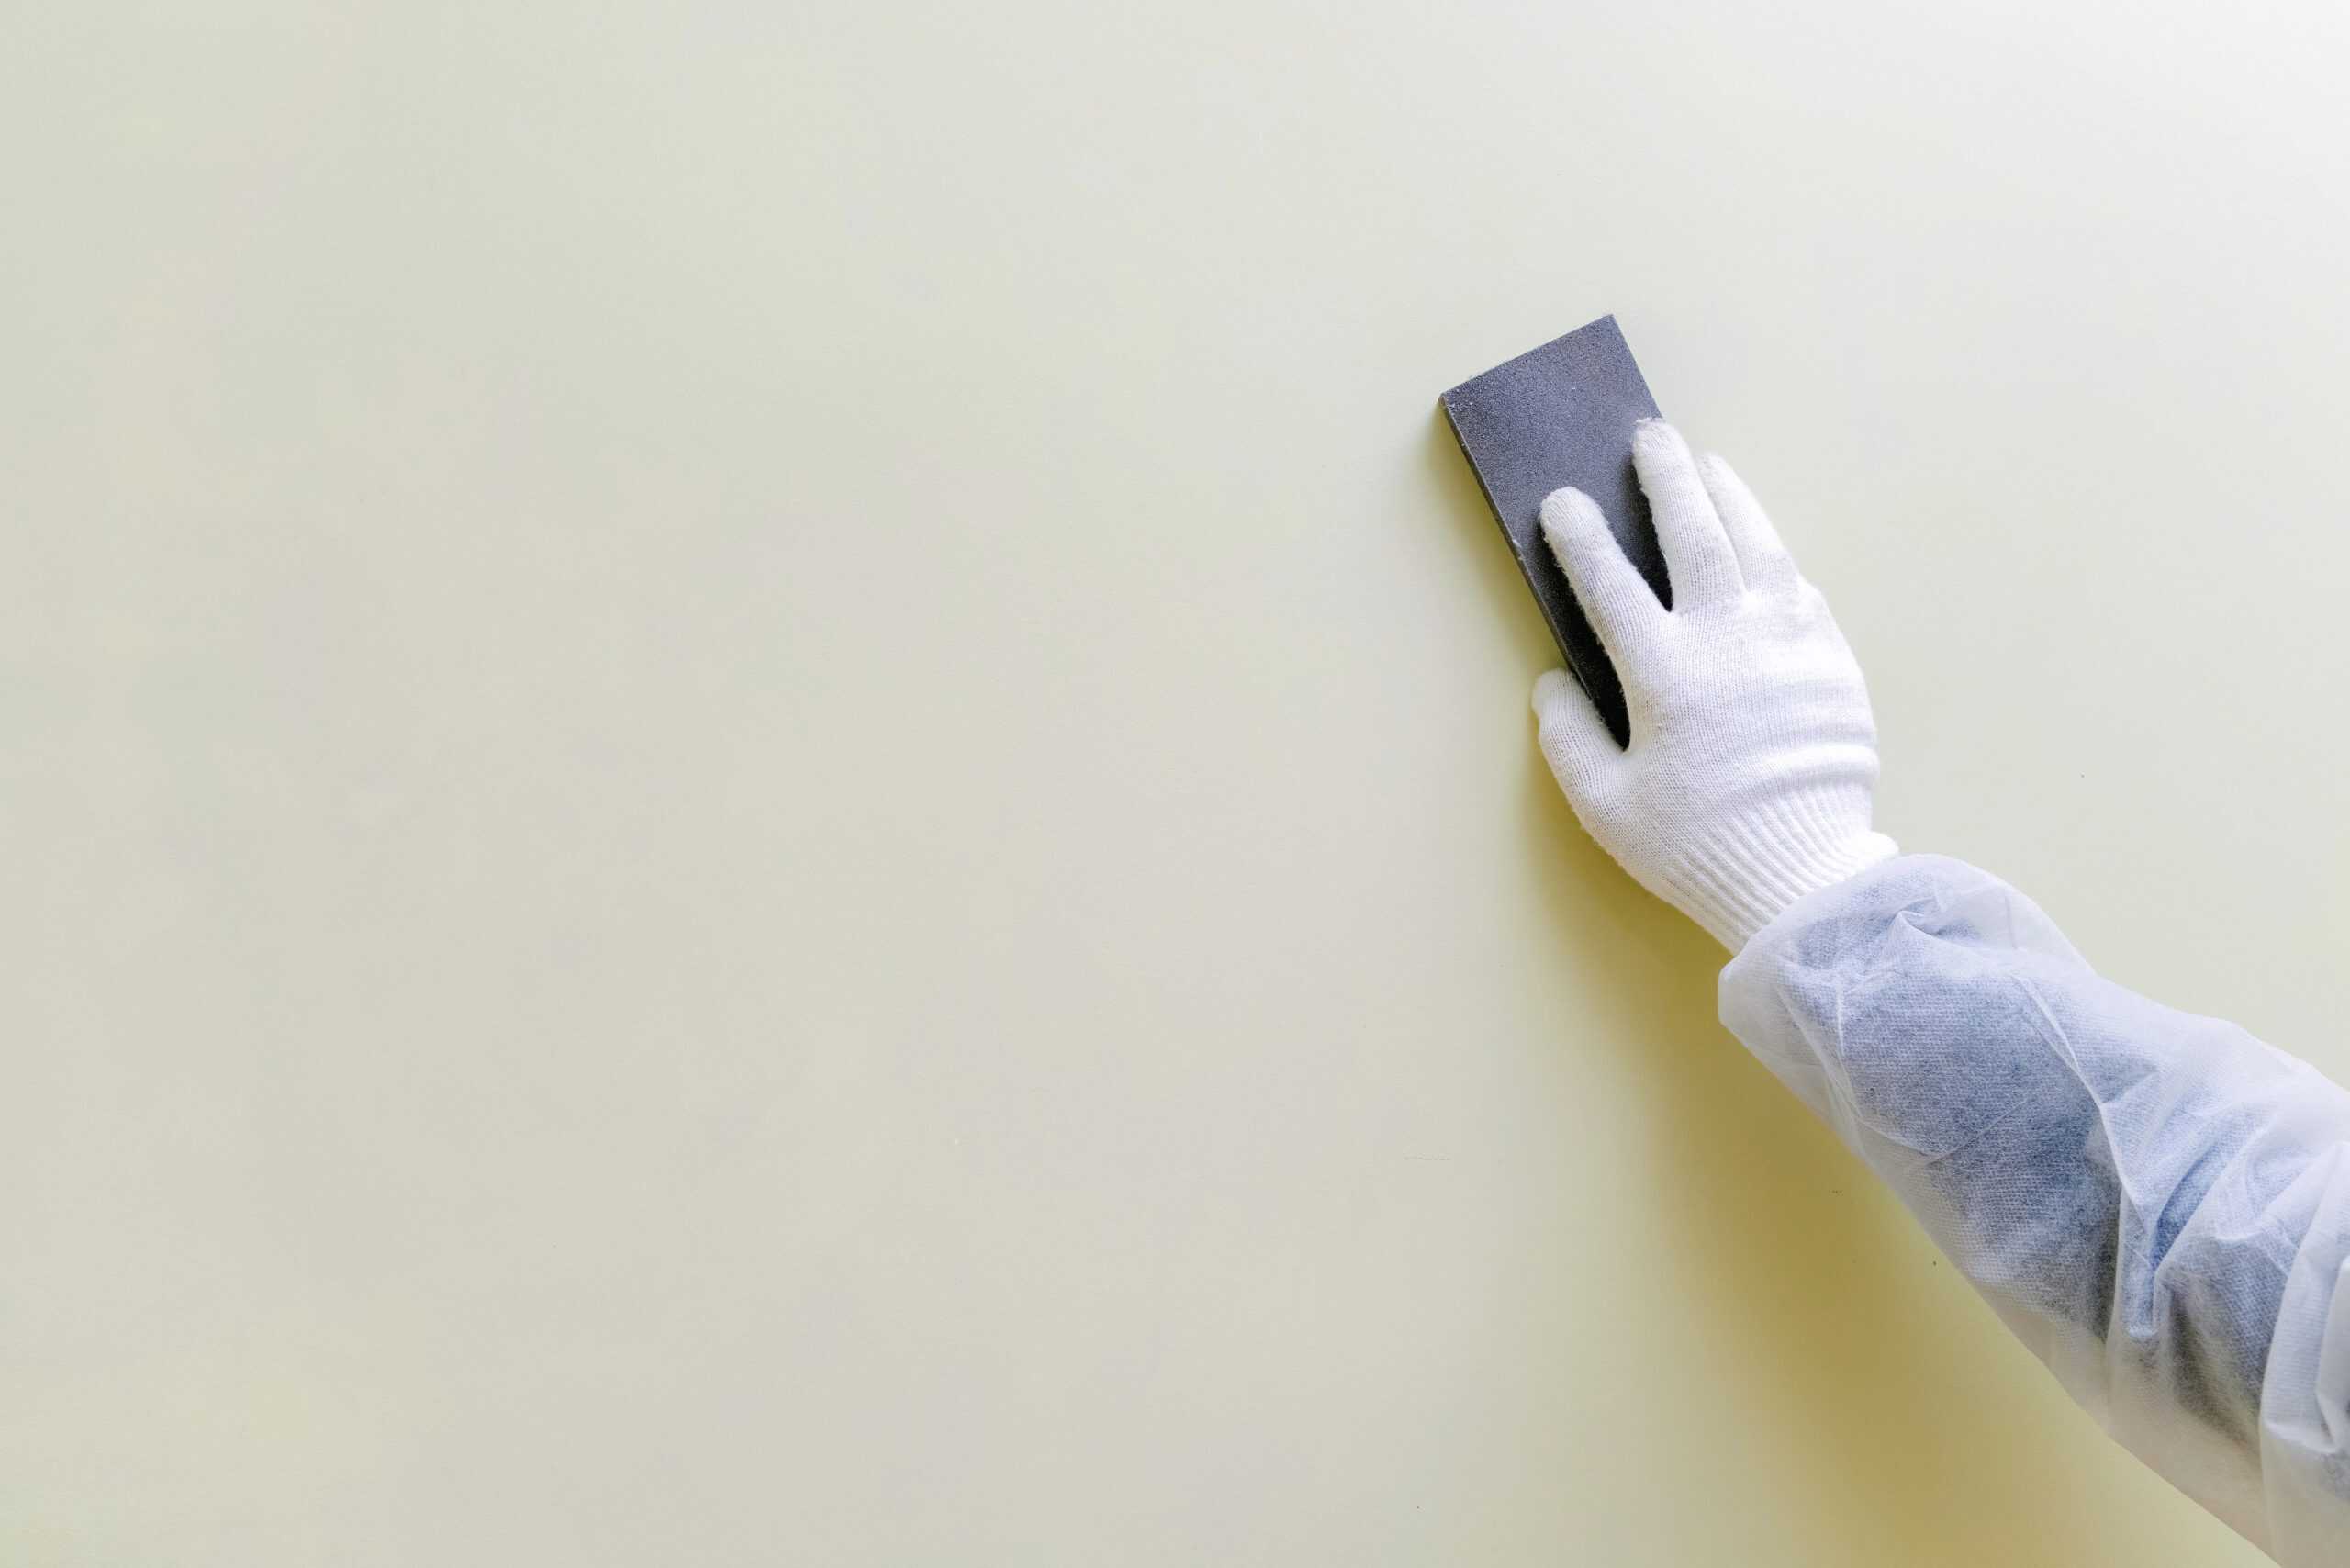
2. Sand the Surfaces
- Why it’s important: Sanding is crucial to remove any existing finish on the cabinets (like old paint or varnish), as well as to create a slightly rough surface that helps the primer and paint adhere better.
- How to do it:
- Use fine-grit sandpaper (around 120-220 grit) to lightly sand all surfaces that you plan to paint.
- Sand in the direction of the wood grain, if applicable, for a smoother finish.
- The goal here isn’t to strip the wood entirely, just to scuff up the surface enough to allow for proper adhesion.
3. Remove Dust
- Why it’s important: After sanding, dust and debris can settle on the surfaces, which can interfere with paint adhesion or cause an uneven finish.
- How to do it:
- Use a tack cloth to wipe down all sanded surfaces. A tack cloth is lightly sticky, designed specifically to pick up dust and debris after sanding.
- Ensure that every surface is free from dust before you begin priming and painting.
By thoroughly cleaning, sanding, and removing dust from your cabinets, you’ll create a solid, smooth surface for the primer and paint to adhere to, ensuring a professional, long-lasting finish. Remember, taking the time to properly prepare your surfaces will save you from potential headaches later on in your bathroom cabinet painting project.
4. Inspect For Damage
5. Set Up a Painting Area and Apply Paint
Now, onto the exciting part – applying the paint! This is where all your hard work in preparation will pay off. To ensure a smooth and professional finish, it’s important to set up an efficient workspace and use proper painting techniques.
Step 1: Set Up Your Painting Area
- Why it’s important: Having a dedicated, clean area for your painting materials will help you stay organized and avoid unnecessary messes.
- How to do it:
- Set up a well-ventilated area, preferably somewhere with good natural light, for both the cabinets and the tools.
- Lay down drop cloths or plastic sheets to protect the floors and any nearby surfaces.
- Have all your tools within easy reach, including paint brushes, rollers, painter’s tape, paint trays, and your paint cans.
Step 2: Start with the Cabinet Frames Inside the Bathroom
- Why it’s important: It’s always a good idea to begin with the cabinet frames before moving on to the doors and drawers to avoid accidentally smudging the freshly painted parts.
- How to do it:
- Start by painting the cabinet frames around the bathroom. Use a brush to get into the corners, edges, and any other detailed areas.
- Apply thin, even coats of paint for the smoothest finish possible.
- Make sure to protect nearby surfaces (like the walls) by using painter’s tape.
Step 3: Use Painter’s Tape
- Why it’s important: Painter’s tape will protect areas that you don’t want to paint, such as your walls, countertops, or trim. It ensures clean, crisp lines for a professional-looking result.
- How to do it:
- Apply painter’s tape to the edges around the cabinet frames and any nearby surfaces that you want to protect.
- Be sure to press down the edges of the tape firmly to avoid any paint bleeding through.
Step 4: Paint the Cabinets with a Brush and Roller
- Why it’s important: Different areas of your cabinets require different techniques for the best results.
- How to do it:
- For detailed areas (like edges and corners), use a high-quality brush. Choose a brush with angled bristles to help you get into tight corners and along trim.
- For larger, flat surfaces (like cabinet faces and sides), use a foam roller to ensure an even, smooth finish. The roller will allow you to cover larger areas without brush strokes.
- Apply thin, even coats of paint, and avoid overloading the brush or roller to prevent drips.
Step 5: Paint the Doors and Drawers
- Why it’s important: Laying the doors and drawers flat ensures that drips and runs are minimized and that you get an even finish.
- How to do it:
- Lay the doors and drawers flat on a clean, level surface like a workbench or a large table.
- Apply the paint in thin, even coats to prevent drips. Make sure each coat is dry before applying the next.
- Typically, two to three coats will give you a durable, smooth, and even finish. Allow sufficient drying time between coats.
Step 6: Allow Time for Drying
- Why it’s important: Allowing each coat to dry properly ensures a smooth, professional-looking finish without smudges or uneven patches.
- How to do it:
- Follow the manufacturer’s recommended drying times on the paint can. This is usually between 1-4 hours for drying, depending on the type of paint you’re using.
- For best results, let the cabinets dry completely before applying the next coat of paint.
Step 7: Reassemble the Cabinets
- Why it’s important: Once your cabinets have dried and you’ve achieved your desired finish, it’s time to put everything back together.
- How to do it:
- Reattach the doors and drawers to the cabinet frames.
- Reinstall the hardware (knobs, handles, hinges) that you had set aside earlier.
- Stand back and admire your beautiful, freshly painted cabinets!
By following these steps, you’ll ensure a smooth and professional-looking finish for your bathroom cabinet painting project. Take your time, be patient with the drying process, and enjoy the transformation!

If you need professional help with your interior/exterior painting, Campbell Painting is here for you.
Our interior/exterior painting and washing services are available in Anchorage, AK.
Call us today at (907) 444-3657 for a FREE painting estimate.
Related: Kitchen Painting Tips To Reduce Mess in Anchorage, AK
Tips For Choosing A Paint Color For Your Bedroom in Anchorage, AK

Ben Campbell is the proud owner of Campbell Painting LLC, a successful painting company based in Anchorage, Alaska. As a third-generation member of the painting industry, Ben has a deep-seated passion for his profession that started with his grandfather, who came to Alaska to sell paint. Born and bred in Alaska, Ben’s connection to his community is genuine and strong. Since 2006, he has been providing top-quality painting services, enhancing the beauty of Anchorage one building at a time. He also studied at Santa Barbara City College, solidifying his industry knowledge. Ben’s journey, including overcoming adversity, is a testament to his resilience and commitment to his craft, which is reflected in the success and reputation of Campbell Painting LLC.
Recent Comments